

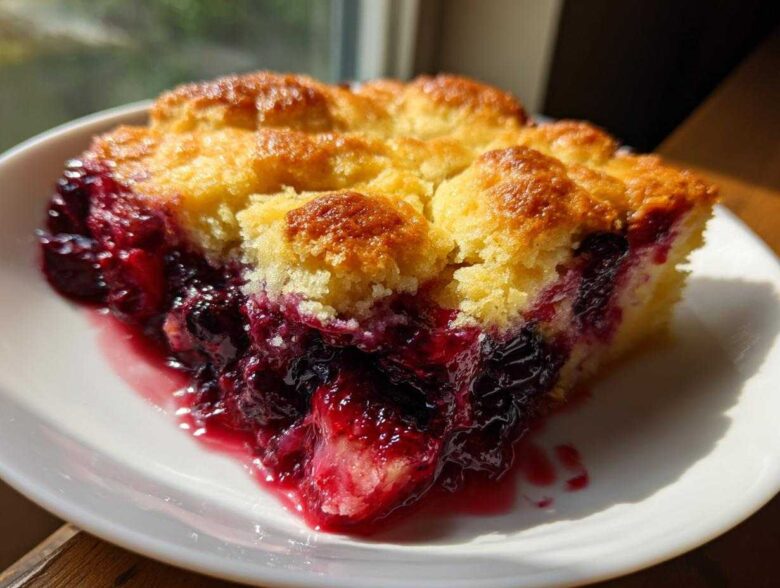
There is nothing on this earth quite like the smell of a truly warm **berry cobbler** bubbling away in the oven. It stops you right in your tracks, doesn’t it? When Leo and I retired and suddenly had all this quiet time stretching out before us—the infamous ‘newlywed’ phase, but for sixty-somethings—we needed noise, we needed chaos, and we needed comfort. This is when baking truly became our front-page news. This recipe, friends, is our staple homemade fruit dessert. I’m Clara, and trust me when I say this mixed **berry cobbler** is the easiest you’ll ever make. It’s fantastic with the sweet, juicy berries we pick in the summer, but Leo insists the frozen berries work even better when you need a quick comfort food fix! You can read more about our kitchen transformation over at our About Us page!
Why This is the Best Berry Cobbler Recipe (Expert Tips from Leo)
When we talk about the best berry cobbler, we’re talking about pure, unadulterated comfort. This isn’t a fussy, layered dessert, thank goodness; it’s just simple, bubbly fruit under a cloud of soft dough. Leo always says that the reason he loves this recipe so much is because it’s a true comfort food dessert—it doesn’t require precision, just love. If you prefer a crisp topping, you need a crumble recipe, but here, we champion the soft, slightly sweet biscuit.
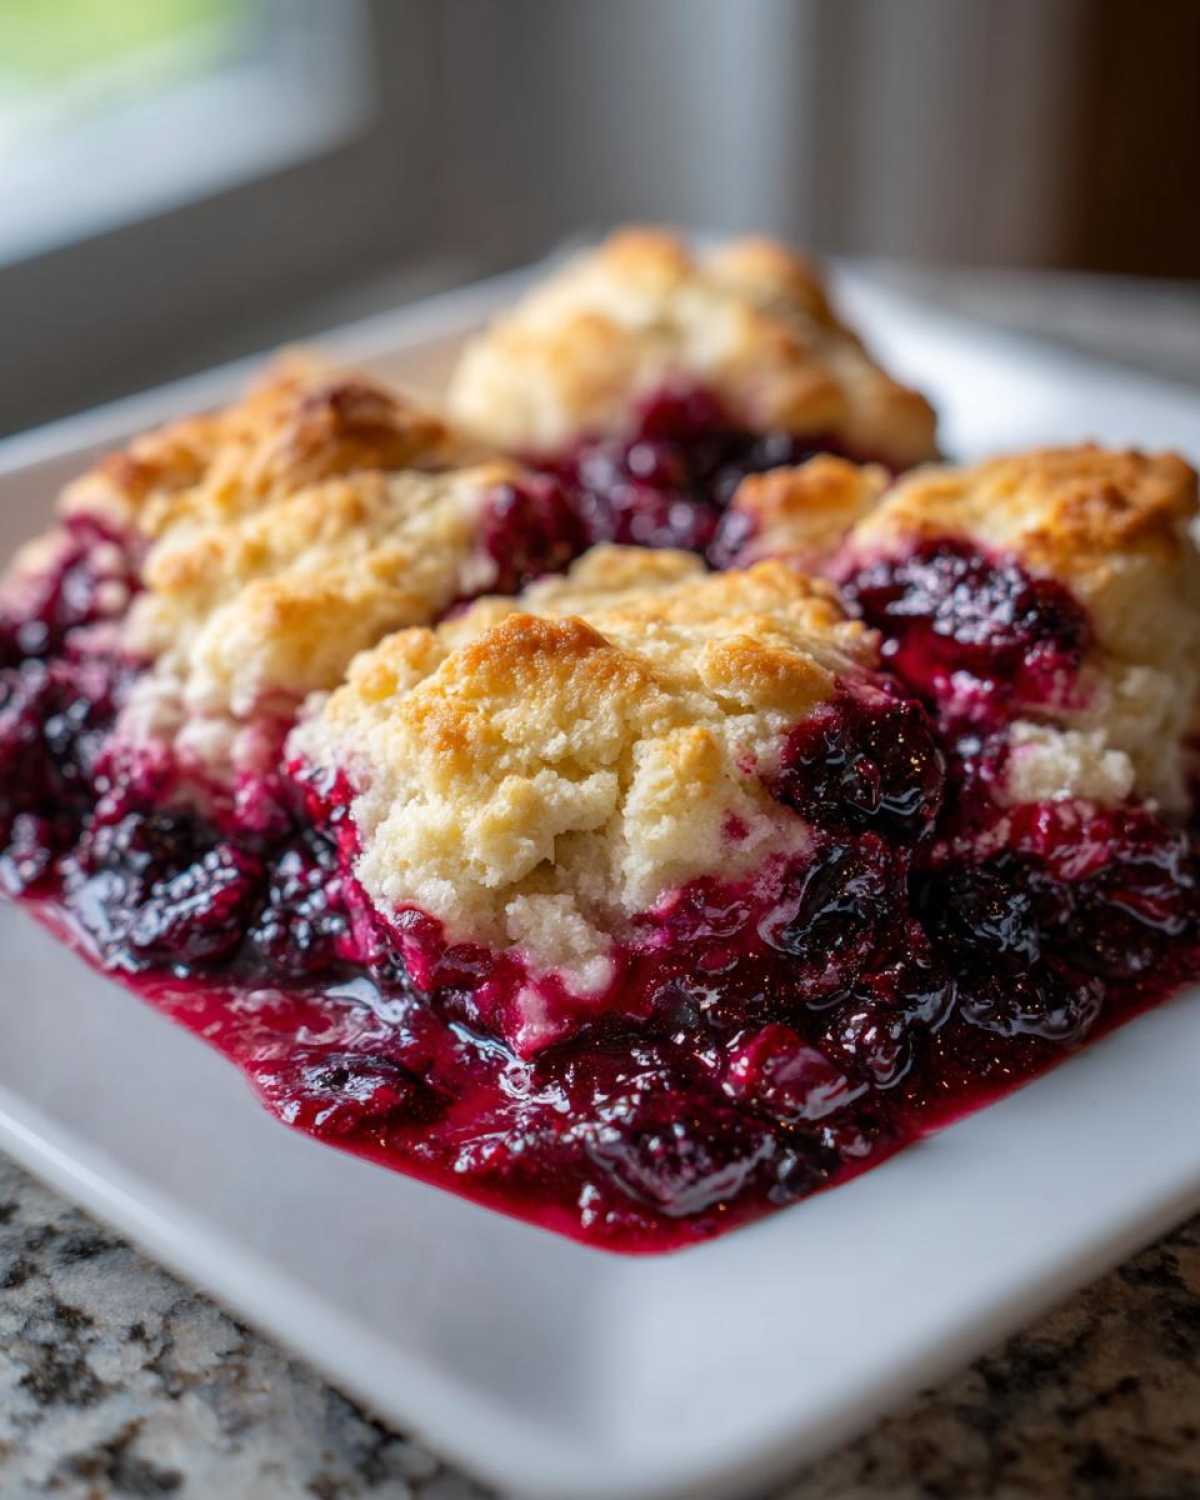
Fresh Berry Dessert vs. Frozen Berry Cobbler Ideas
Here’s your secret weapon for making this dessert anytime: you don’t need to thaw those frozen berries! Seriously, just toss them straight from the freezer into the bowl with the sugar and flour. The extra ice crystals turn into lovely, thick juices while baking. If you’re using beautiful fresh berry dessert fruit, just make sure they are dry before tossing them. A wet berry makes a watery filling, and we want jammy, not soupy!
Mastering the Cobbler with Biscuit Topping
The biggest difference between a great cobbler and an okay one is always the topping texture. We want a cobbler with biscuit topping that’s tender and fluffy on the inside, not hard like a cookie. Leo’s golden rule here—which he learned by ruining three batches early on—is how you handle the butter. You have to use butter that is truly cold and cut it into pea-sized pieces. Don’t play with the dough too much once the milk goes in, or you’ll activate too much gluten and end up with tough little crackers instead of soft clouds!
Gathering Ingredients for Your Easy Berry Cobbler Recipe
Okay, before Leo starts improvising in the kitchen, let’s make sure you have everything laid out. This easy berry cobbler recipe is fantastic because the ingredient list is straightforward, and we aren’t asking you to hunt down anything crazy. Remember, the key to that wonderful biscuit topping is making sure the butter is absolutely freezing cold! Have your 8×8 inch baking dish ready for greasing too. I promise, setting everything out first is just good editing, even in our chaotic kitchen.
- 4 cups mixed berries (fresh or frozen, do not thaw—this is important!)
- 1/2 cup granulated sugar
- 2 tablespoons all-purpose flour
- 1 teaspoon lemon juice
- 1/4 teaspoon ground cinnamon
- 1 cup all-purpose flour (for topping)
- 2 tablespoons granulated sugar (for topping)
- 1 tablespoon baking powder
- 1/2 teaspoon salt
- 1/2 cup cold unsalted butter, cut into small pieces
- 1/2 cup milk
- 1 tablespoon coarse sugar (for sprinkling on top)
Step-by-Step Instructions for the Quick Fruit Dessert
Now for the main event! This recipe is wonderfully straightforward, making it a fantastic simple baking recipe when you need a delightful treat without a fuss. We’re looking at about 15 minutes of prep time before this quick fruit dessert heads into the oven. Remember, we set the stage earlier by lightly greasing that dish, so we just need to follow the music Leo has composed for us here.
Preparing the Jammy Berry Cobbler Filling
First things first: fire up that oven to 375°F (190°C). We need it hot! In a big bowl, gently coax your mixed berries together with the sugar, the two tablespoons of flour, your lemon juice, and cinnamon right there in the bowl. I stress gently! We want a thick, jammy filling, not purple mush. Spread that beautiful, colorful mixture evenly into your prepared dish. That’s half the work done!
Mixing the Biscuit Dough for Your Berry Cobbler
Next, grab a separate bowl for the topping. Whisk those dry ingredients—the cup of flour, the topping sugar, baking powder, and salt—until they are acquainted. Now, you need that cold butter cut into little pebbles. Use your fingers or a pastry blender to work it in until it looks like rough crumbs. This is where trust comes in, guys! Pour in the milk and stir just until everything barely comes together. Lumps are your friends here; overmixing makes that topping tough.
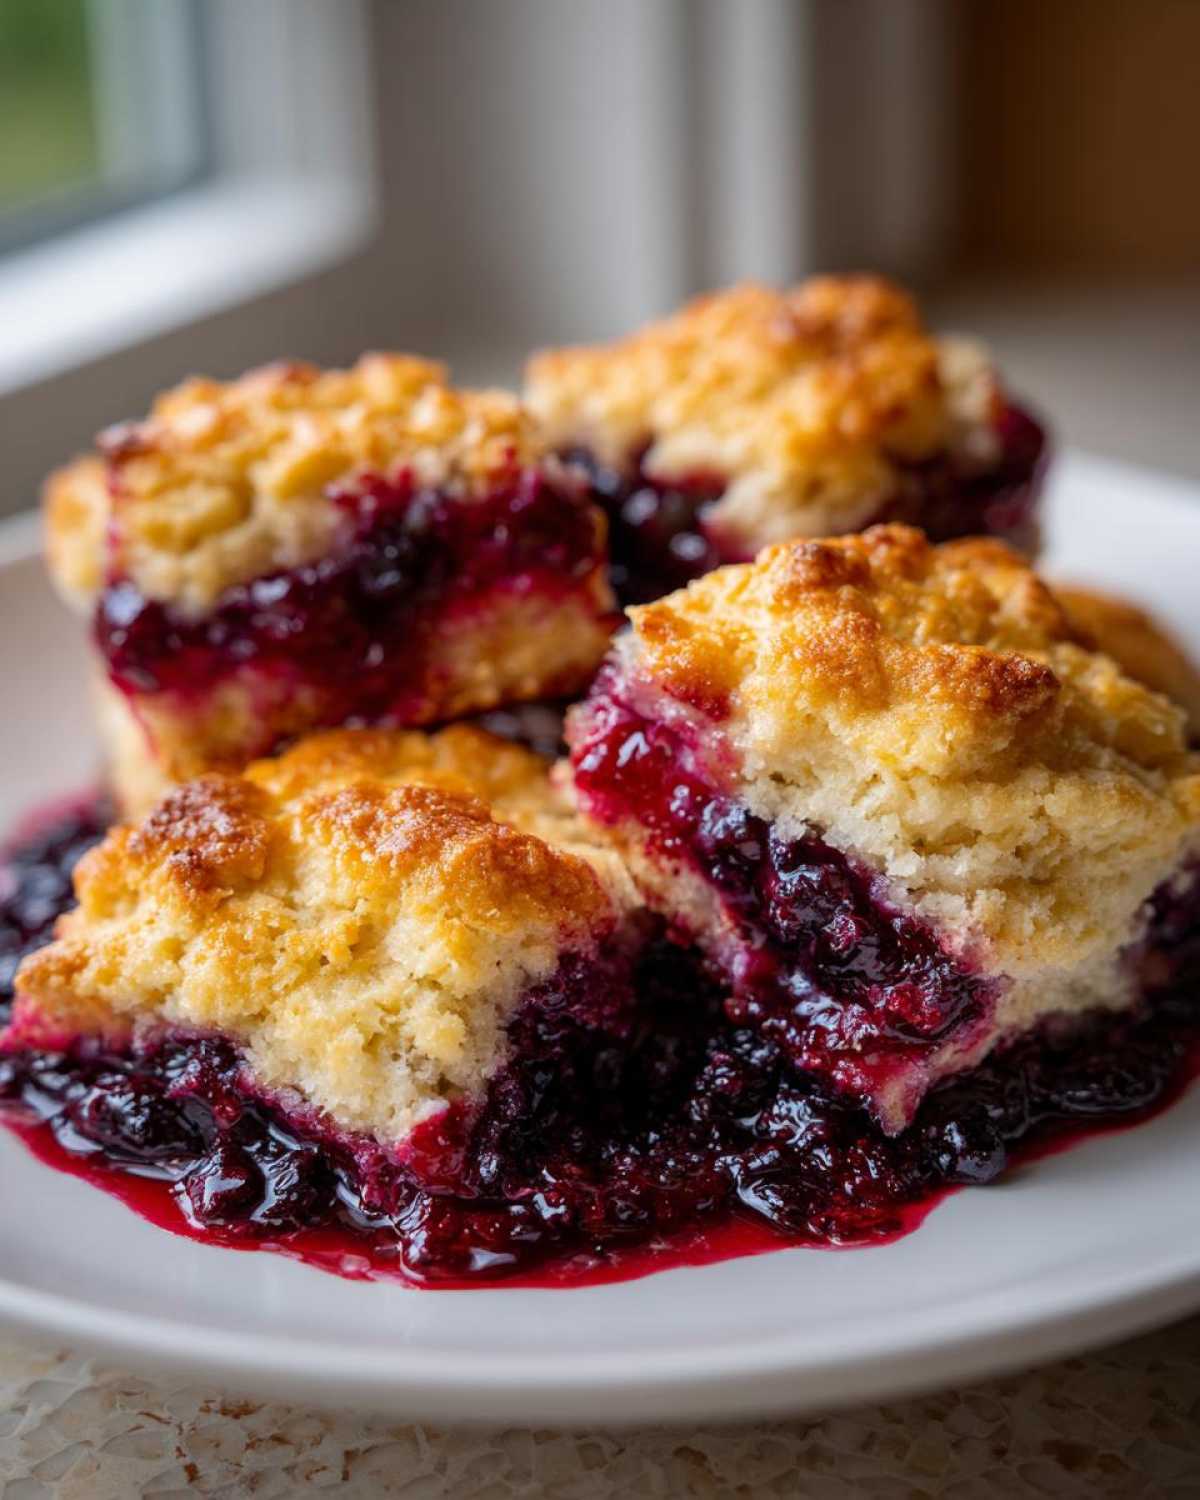
Finally, spoon those soft dough mounds right over the berry filling, leaving those gorgeous little air pockets so the fruit can bubble up beautifully. Give it a final dusting of coarse sugar for crunch, and slide it in to bake for about 35 to 45 minutes. When it comes out, it’s heaven!
Tips for a Perfect Homemade Cobbler Recipe
We’ve all been there—a beautiful dessert that just doesn’t turn out quite right. But making a truly stunning homemade cobbler recipe shouldn’t feel like a high-stakes performance! I find that having Leo here to watch the oven helps, because one minute it’s perfect, and the next, it’s over-baked. If you’re looking for a major shortcut, that note in the recipe about using a cake mix for the topping instead of the biscuit dough is amazing; it’s practically foolproof, though I prefer the texture of scratch biscuit dough myself. Check out some of our musings on kitchen adventures over here at the blog!
Troubleshooting Common Berry Cobbler Issues
If your topping looks stubbornly dry after 30 minutes, drizzle a tiny bit more milk—maybe just a tablespoon—right over the patchy spots and return it to the oven. Now, if your filling looks too soupy when you pull it out, don’t panic! That’s why we bake it a little while longer; the flour in the mix needs time to turn into thick, glorious syrup. If you’re worried about this happening, you can always peep this piece on another recipe for comparison, though I’m sticking to my guns that this one is solid!
Serving Suggestions: Dessert Topped With Ice Cream
I swear, this berry cobbler needs one thing, and one thing only, to reach peak happiness: a massive scoop of good vanilla ice cream melting down the side. Leo calls it the *perfect temperature differential*. We need that contrast, you know? The hot, bubbling, almost-too-sweet fruit meeting that cold, creamy vanilla—it’s the best part of any warm berry dessert experience. Don’t be shy about the topping, either! For special occasions, I sometimes whip a little heavy cream, but honestly, nothing beats the sheer joy of a proper simple dessert topped with ice cream to finish off a meal. It’s the quintessential American comfort bite!
Storage and Reheating Instructions for Your Berry Cobbler
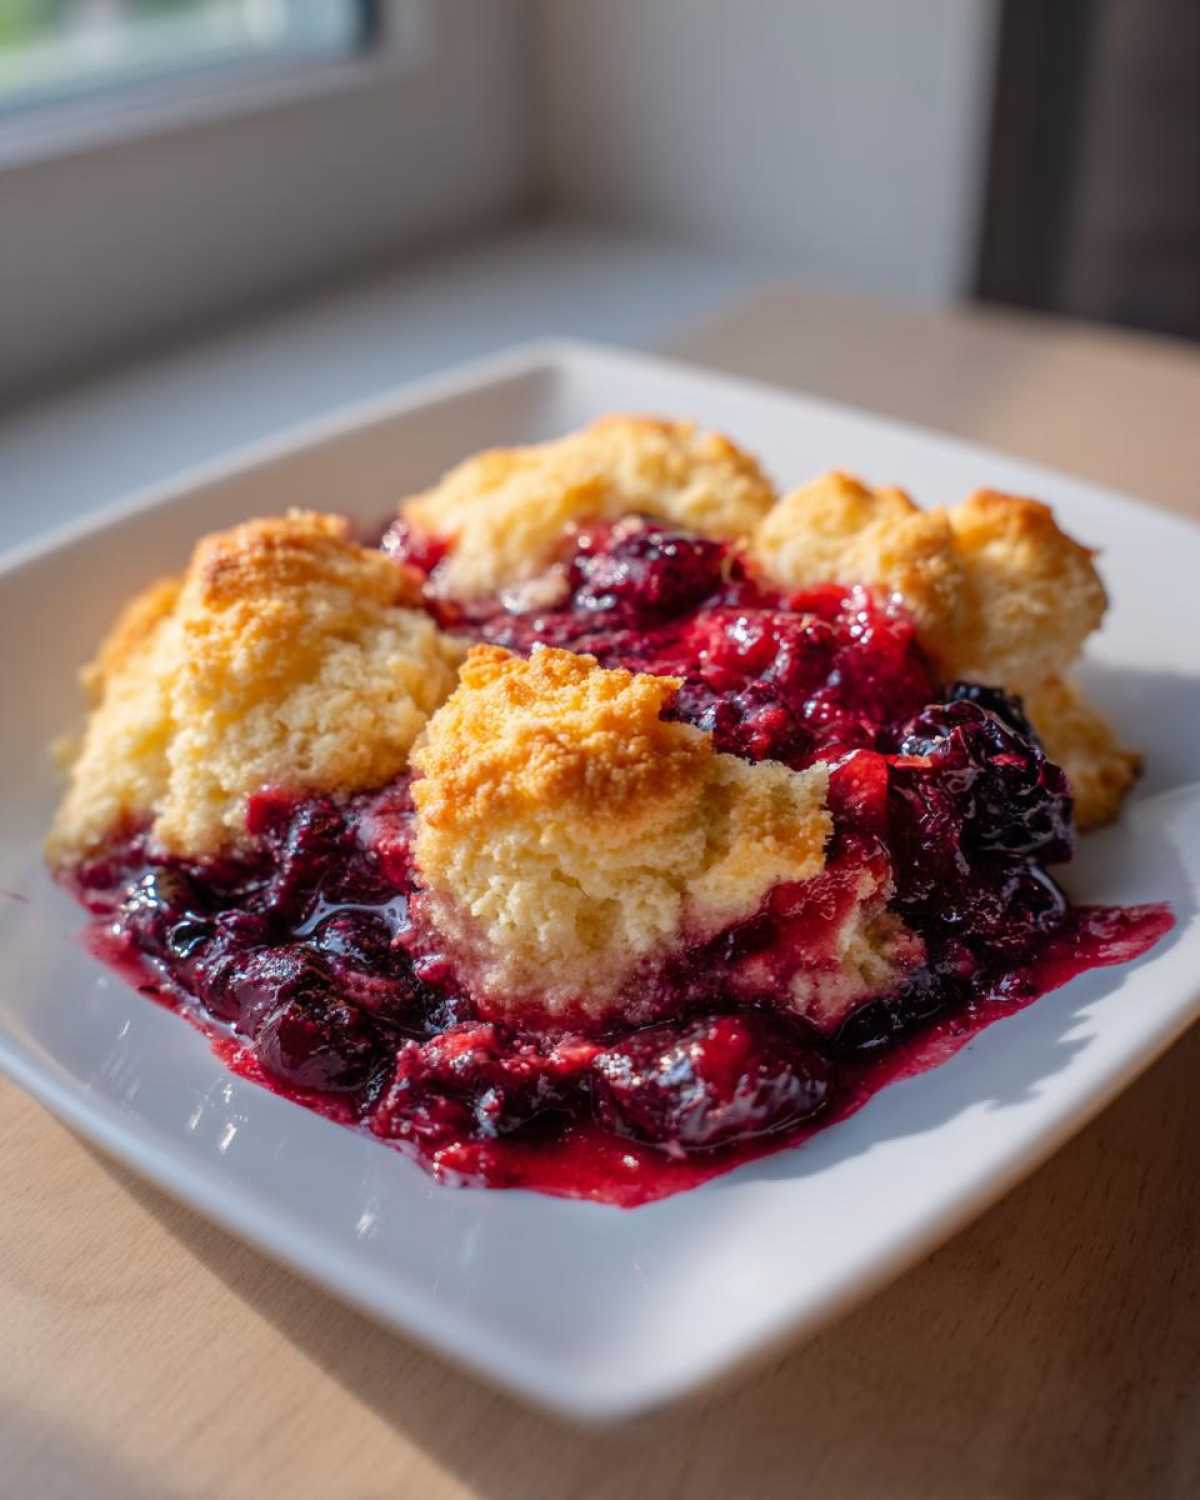
Even though this cobbler rarely lasts past dinner here—Leo eats leftovers standing up by the counter, the savage—you might actually have some left! If you do, cover the baking dish tightly with foil or plastic wrap. If it’s just a day or two, leaving it on the counter is fine since it’s a high-sugar baked item. For anything longer than two days, pop it in the fridge.
When you want that second helping, never use the microwave first! The microwave makes the biscuit topping chewy, and we can’t have that crime occurring in our kitchen. Reheat individual servings in a toaster oven or a regular oven set to about 325°F (160°C) until it’s warmed through and the topping crisps up again. That little bit of time spent reheating pays off immensely!
Understanding the Difference: Berry Crumble vs Cobbler
This question comes up all the time, especially when you’re trying to decide what to bake next! When we bake, the name really does matter because the texture changes everything. For this recipe, we’re making a true **berry cobbler**. The defining feature is that soft, biscuit-like topping—it’s dropped on by spoonfuls and bakes up tender and golden over the fruit.
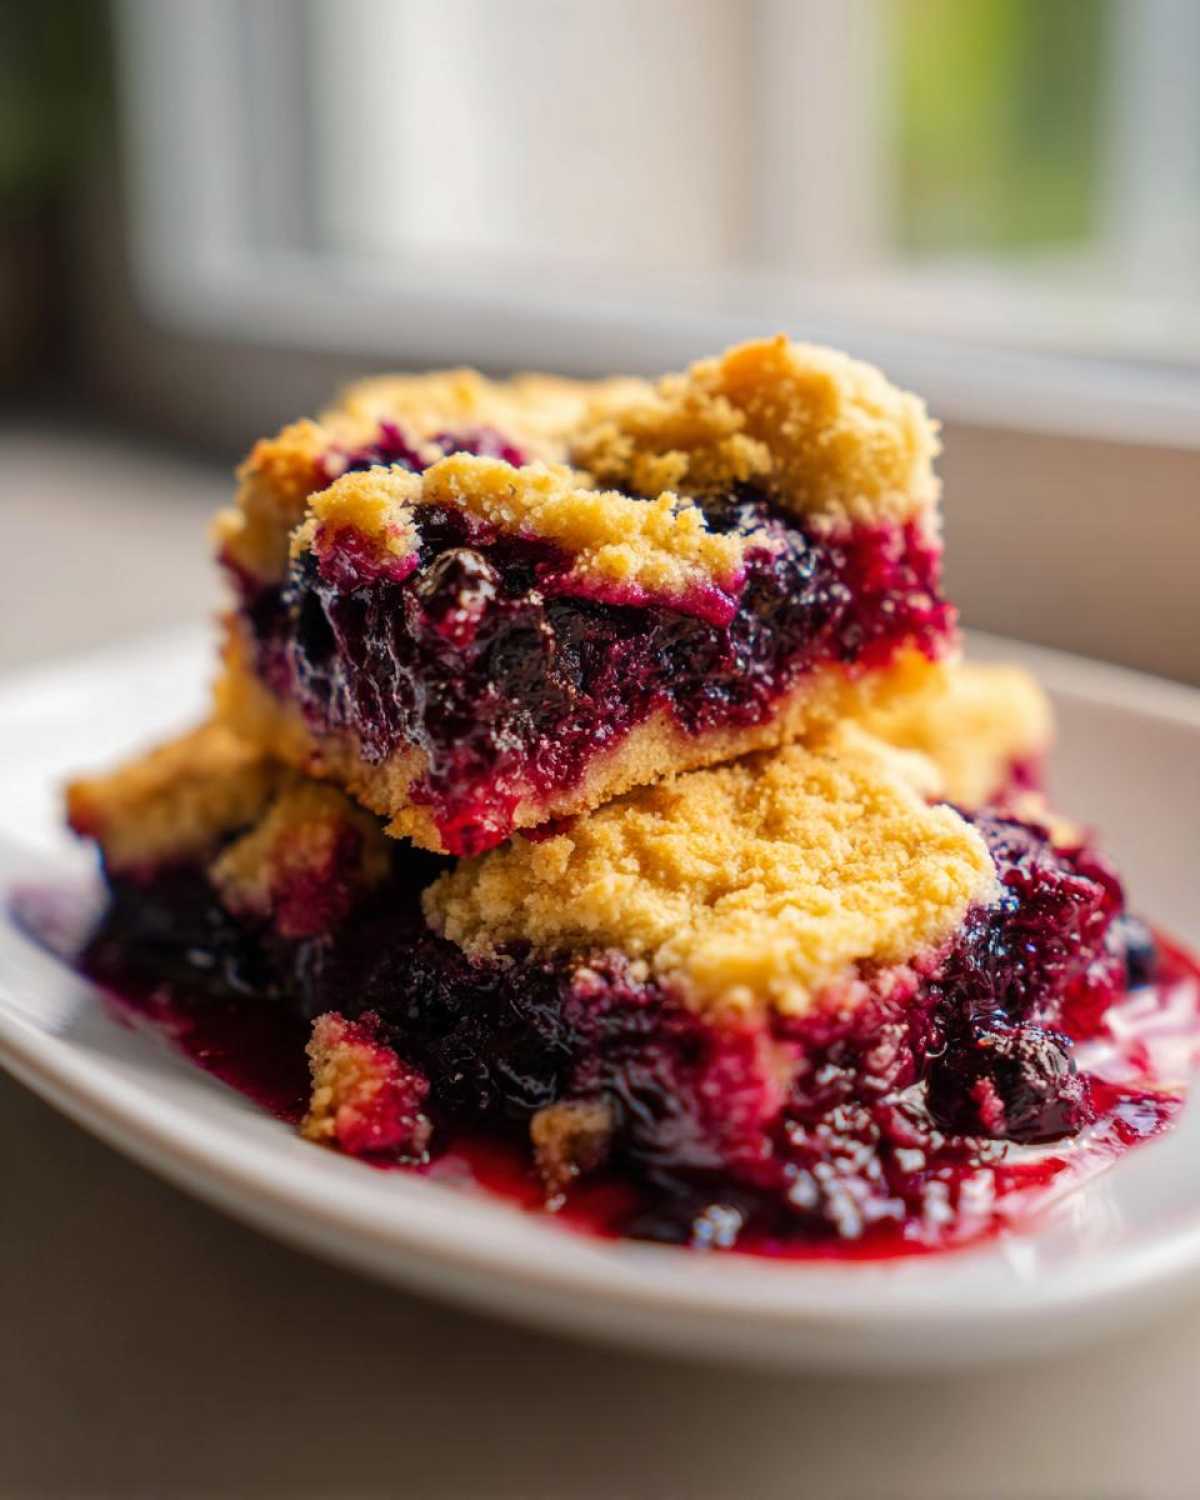
A crumble or a crisp—like the one you can check out over here if you’re feeling adventurous—has a streusel topping, usually made with oats, butter, and flour, giving it that crunchy, sandy texture. So, if you want soft dough pillows over your fruit, stick with the cobbler! If you prefer a crunchy, buttery hat, that’s when you go for the crisp. It’s all about what texture you crave at the moment!
Frequently Asked Questions About This Berry Cobbler
I know you might have a few lingering questions while staring at your gorgeous berries, wondering if this berry cobbler will fit into your weekend baking schedule. Leo and I get asked similar things all the time when explaining the recipe to our retired friends! Honestly, this recipe is so forgiving, but here are a few solid answers to the things we hear most often in the kitchen.
Can I make this berry cobbler ahead of time?
You certainly can get a jump on things! That’s a great way to save time if company is coming over. What I recommend is assembling the fruit filling and keeping it covered in the fridge. For the biscuit topping, keep the dry ingredients mixed in one container and the cold butter cut up in another (maybe even mixed with the milk separately if you’re daring!). Mix the topping dough right before you plan to bake it—don’t let that dough sit around, or the baking powder loses its get-up-and-go!
What if I only have blackberries? Can I make a Blackberry Raspberry Cobbler?
Absolutely! Mix and match is the name of the game here. If you have a whole flat of just blackberries, go for it. If you happen to have some raspberries kicking around, you can definitely make a beautiful Blackberry Raspberry Cobbler—the ratios stay exactly the same, and the flavor combination is divine. We’ve even thrown in some tart cherries on occasion! The lemon juice really helps brighten whatever fruit you choose.
Is this recipe suitable for a last minute dessert idea?
Yes, yes, and yes! If you are looking for last minute dessert ideas, this is a winner because the prep time is clocking in around 15 minutes. Unless you have to run out and buy the berries, the biggest time sink is waiting for the oven to heat up! It bakes up fast and tastes like you worked on it all afternoon. Perfect for those spontaneous supper invites.
Nutritional Estimates for Your Comfort Food Desserts
Now, I’m Clara, and I’m the one who has to worry about the details after Leo has already eaten three-quarters of the pan! Please remember that since we are working with fluctuating fresh ingredients, these numbers are just educated guesses based on the standard items listed in our recipe. Think of these estimates as a ballpark for planning—they help, but they aren’t exactly the gospel truth for a comfort food dessert like this! They vary quite a bit depending on the sugar content of your berries.
| Metric | Amount |
|---|---|
| Serving Size | 1 serving |
| Calories | 350 |
| Sugar | 30g |
| Sodium | 250mg |
| Fat | 15g |
| Protein | 5g |
Remember, if you top this with that beautiful vanilla ice cream we talked about, your numbers are going up a bit! That’s okay; sometimes the best stories require a few extra, delightful details.
PrintThe Easiest Mixed Berry Cobbler with Biscuit Topping (Uses Fresh or Frozen Berries)

This is our go-to recipe for a warm, comforting mixed berry cobbler. We use a simple biscuit topping that bakes up perfectly golden. It works great with fresh summer berries or frozen ones when you need a quick dessert.
- Prep Time: 15 min
- Cook Time: 40 min
- Total Time: 55 min
- Yield: 6 servings
- Category: Dessert
- Method: Baking
- Cuisine: American
- Diet: Vegetarian
Ingredients
- 4 cups mixed berries (fresh or frozen, do not thaw)
- 1/2 cup granulated sugar
- 2 tablespoons all-purpose flour
- 1 teaspoon lemon juice
- 1/4 teaspoon ground cinnamon
- 1 cup all-purpose flour (for topping)
- 2 tablespoons granulated sugar (for topping)
- 1 tablespoon baking powder
- 1/2 teaspoon salt
- 1/2 cup cold unsalted butter, cut into small pieces
- 1/2 cup milk
- 1 tablespoon coarse sugar (for sprinkling)
Instructions
- Preheat your oven to 375°F (190°C). Lightly grease an 8×8 inch baking dish.
- In a large bowl, gently combine the mixed berries, 1/2 cup sugar, 2 tablespoons flour, lemon juice, and cinnamon. Spread this berry mixture evenly into the prepared baking dish. This is the jammy filling for your **berry cobbler**.
- Prepare the biscuit topping: In a separate medium bowl, whisk together the 1 cup flour, 2 tablespoons sugar, baking powder, and salt.
- Cut in the cold butter using a pastry blender or your fingertips until the mixture resembles coarse crumbs.
- Pour in the milk and stir just until the dough comes together. Do not overmix; a few lumps are fine.
- Drop spoonfuls of the biscuit dough over the berry filling, leaving small gaps between the mounds so the filling can bubble up.
- Sprinkle the coarse sugar over the topping.
- Bake for 35 to 45 minutes, or until the topping is golden brown and the berry filling is thick and bubbly.
- Let the **easy berry cobbler recipe** cool for at least 15 minutes before serving warm, perhaps topped with vanilla ice cream.
Notes
- If you use frozen berries, do not thaw them first. The extra liquid helps create a thicker, jammy filling.
- For a different texture, you can use a cake mix topping shortcut instead of the biscuit dough.
- This recipe is excellent for a **last minute dessert idea** when unexpected guests arrive.
Nutrition
- Serving Size: 1 serving
- Calories: 350
- Sugar: 30g
- Sodium: 250mg
- Fat: 15g
- Saturated Fat: 9g
- Unsaturated Fat: 6g
- Trans Fat: 0g
- Carbohydrates: 50g
- Fiber: 3g
- Protein: 5g
- Cholesterol: 35mg