

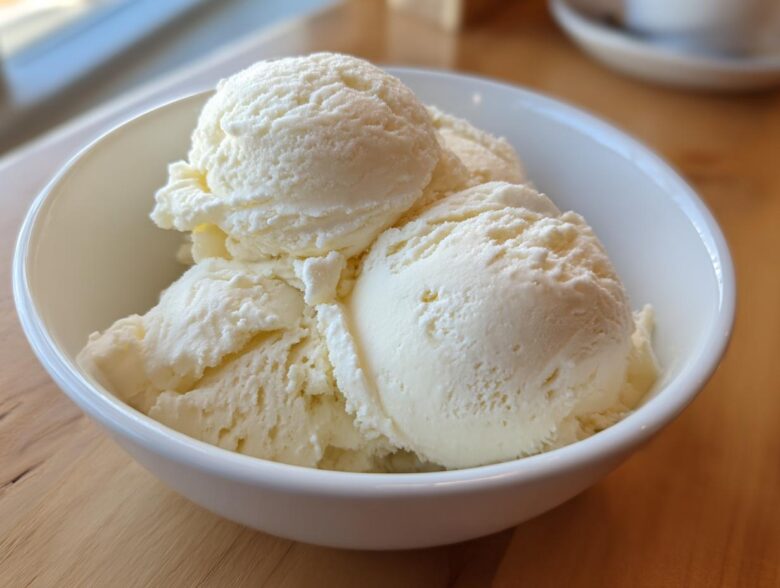
Oh, my dear reader, are you tired of eyeing the freezer aisle, craving something sweet but knowing those tubs are loaded with sugar you just don’t need? When Leo and I officially retired from the quiet world of books and lesson plans, we decided our second act would be *loud*—especially in the kitchen! We needed fuel for all our new adventures, but we still wanted decadent treats. That’s why I finally cracked the code on truly dreamy **protein ice cream** that you can make right now, without any fancy ice cream machine gathering dust on the counter. This simple, creamy vanilla delight is our go-to guilty pleasure, proving that healthy homemade ice cream doesn’t have to taste like frozen cardboard. If you want to know more about how we traded in perfect quiet for this delicious chaos, you can read all about our journey on the About Us page!
Why This No-Churn Vanilla Protein Ice Cream is Your New Favorite Healthy Homemade Ice Cream
Folks, if you’re anything like us, you want dessert that tastes like a splurge but fits right into your macro goals. That’s exactly what we cracked here! This recipe is proof that you don’t need an expensive machine to make truly creamy, satisfying **healthy homemade ice cream**. We focus on high protein from Greek yogurt, which gives it substance. It truly satisfies those cravings that sneak up on you mid-afternoon. If you are looking for ways to streamline your healthy eating, check out my thoughts on low calorie ice cream ideas!
Achieving Creamy Protein Ice Cream Texture Without Churning
The secret, Leo always reminds me, is beating the base until it’s absolutely velvety smooth before it even hits the freezer. We rely heavily on good quality Greek yogurt, because that thickness helps prevent those giant, awful ice crystals from forming. Then, we mimic the churning process by scraping it every hour sharp. It takes elbow grease, but watching the texture transform from icy to creamy is pure magic. It’s our expert trick for incredible results!
Quick Prep for Your Easy Protein Snacks
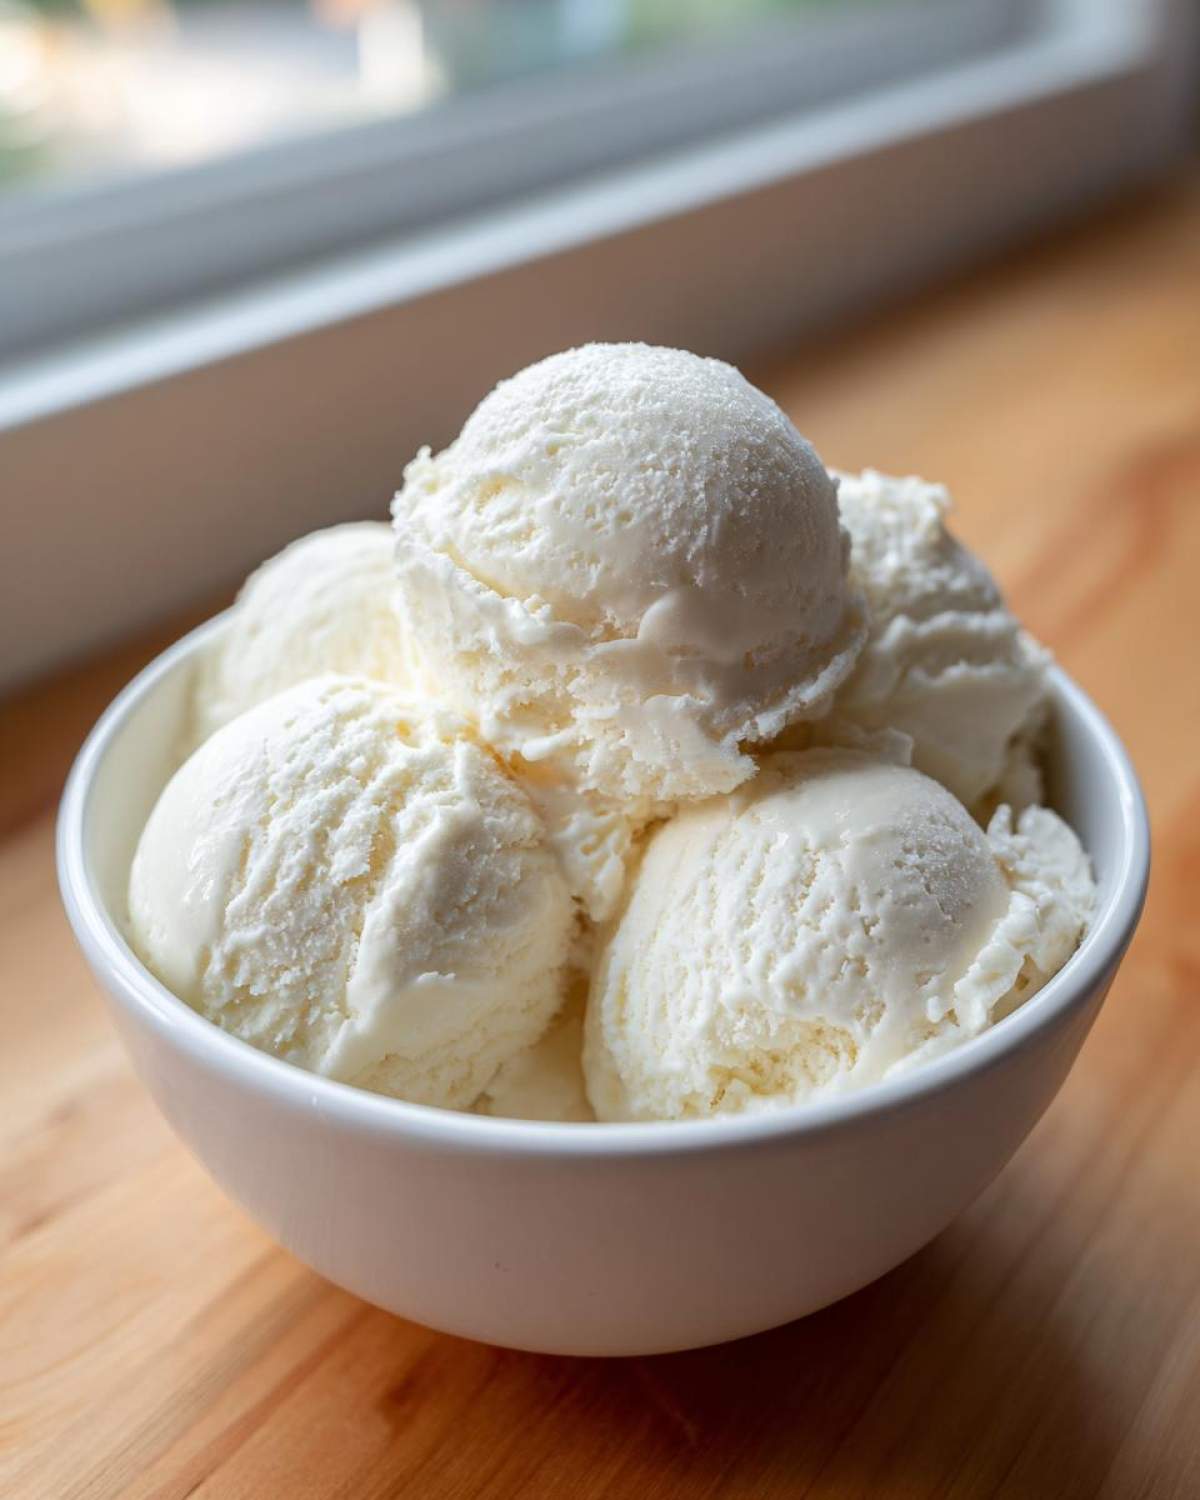
The best part? Beyond the freezing time, which is hands-off, the active mixing time is less than ten minutes! Can you believe that? Seriously, this recipe barely counts as cooking. It flies together faster than I can put away the groceries. That’s why I count this among the best Easy Protein Snacks we’ve ever invented. It’s perfect for a quick post-workout reward, too!
Gathering Ingredients for Your Simple Protein Ice Cream Base
Okay, friend, let’s talk about what goes into our incredible **protein ice cream** base. You need simple things, but the quality really shines through here! We aren’t using any weird fillers—this is strictly one of those fabulous Easy Protein Snacks that feels decadent. Get yourself oriented with these items first, and we’ll chat about substitutions right below. The most important player is definitely your protein powder; pick one you genuinely enjoy the flavor of because it’s the star!
Ingredient Notes and Substitutions for Protein Ice Cream
First off, this recipe delivers all the creamy goodness without needing any banana, making it perfect for those who aren’t fans of that texture in their frozen treats. We are making a dedicated batch of High Protein Dessert Recipes No Banana here! For the creamiest result—and trust me, we’ve tested all the options—use 2% or even full-fat Greek yogurt. The lower fat versions tend to freeze a bit harder, and we want scoopability!
If vanilla isn’t your jam, go right ahead and swap out the powder for chocolate or salted caramel. Variety is the spice of life, after all!
- 1 cup plain Greek yogurt (2% or full fat for best texture)
- 1/2 cup unsweetened almond milk (or milk of choice)
- 1 scoop vanilla protein powder (whey or casein blend works well)
- 1 tablespoon erythritol or preferred zero-calorie sweetener
- 1 teaspoon pure vanilla extract
- Pinch of salt
Step-by-Step Instructions for Making No Churn Protein Ice Cream
Alright, let’s get messy! Making this fantastic **protein ice cream** is mostly waiting, but the active part is super straightforward. You’ll want a good whisk or, if you’re feeling fancy like Leo sometimes does, a hand mixer for this first step. We need everything to be perfectly integrated so we don’t end up with dry powder pockets later. Whisk everything together until it’s velvety smooth. Fun fact: When Leo mixes this, he says once the whisking sound smooths out into a steady, low hum—no more rattling powder—that’s when we know it’s ready for the deep freeze!
Once you mix it up, pour that glorious mixture into a freezer-safe loaf pan or tub. Cover it up tight, because we don’t want any freezer-burn air getting in there. Then, off it goes into the coldest part of your freezer. This is where the real, patient work begins, but don’t worry, it’s mostly hands-off!
The Critical Freezing Technique for Creamy Protein Ice Cream
Do not just set it and forget it! If you do, you’ll end up with a dense, icy brick, and nobody wants that when they’re planning on enjoying some no churn protein ice cream! After one full hour in the freezer, pull that container out. You must use a fork or a sturdy spoon to scrape the edges and aggressively stab the center. We are trying to break up every single ice crystal that tries to form. Put it back for another 45 to 60 minutes and scrape it again. Keep repeating this scraping dance for about 3 to 4 hours total. This persistent fussing is what creates those beautifully scoopable Macro Friendly Desserts instead of an ice block!
Tips for Success with Your Greek Yogurt Ice Cream Recipes
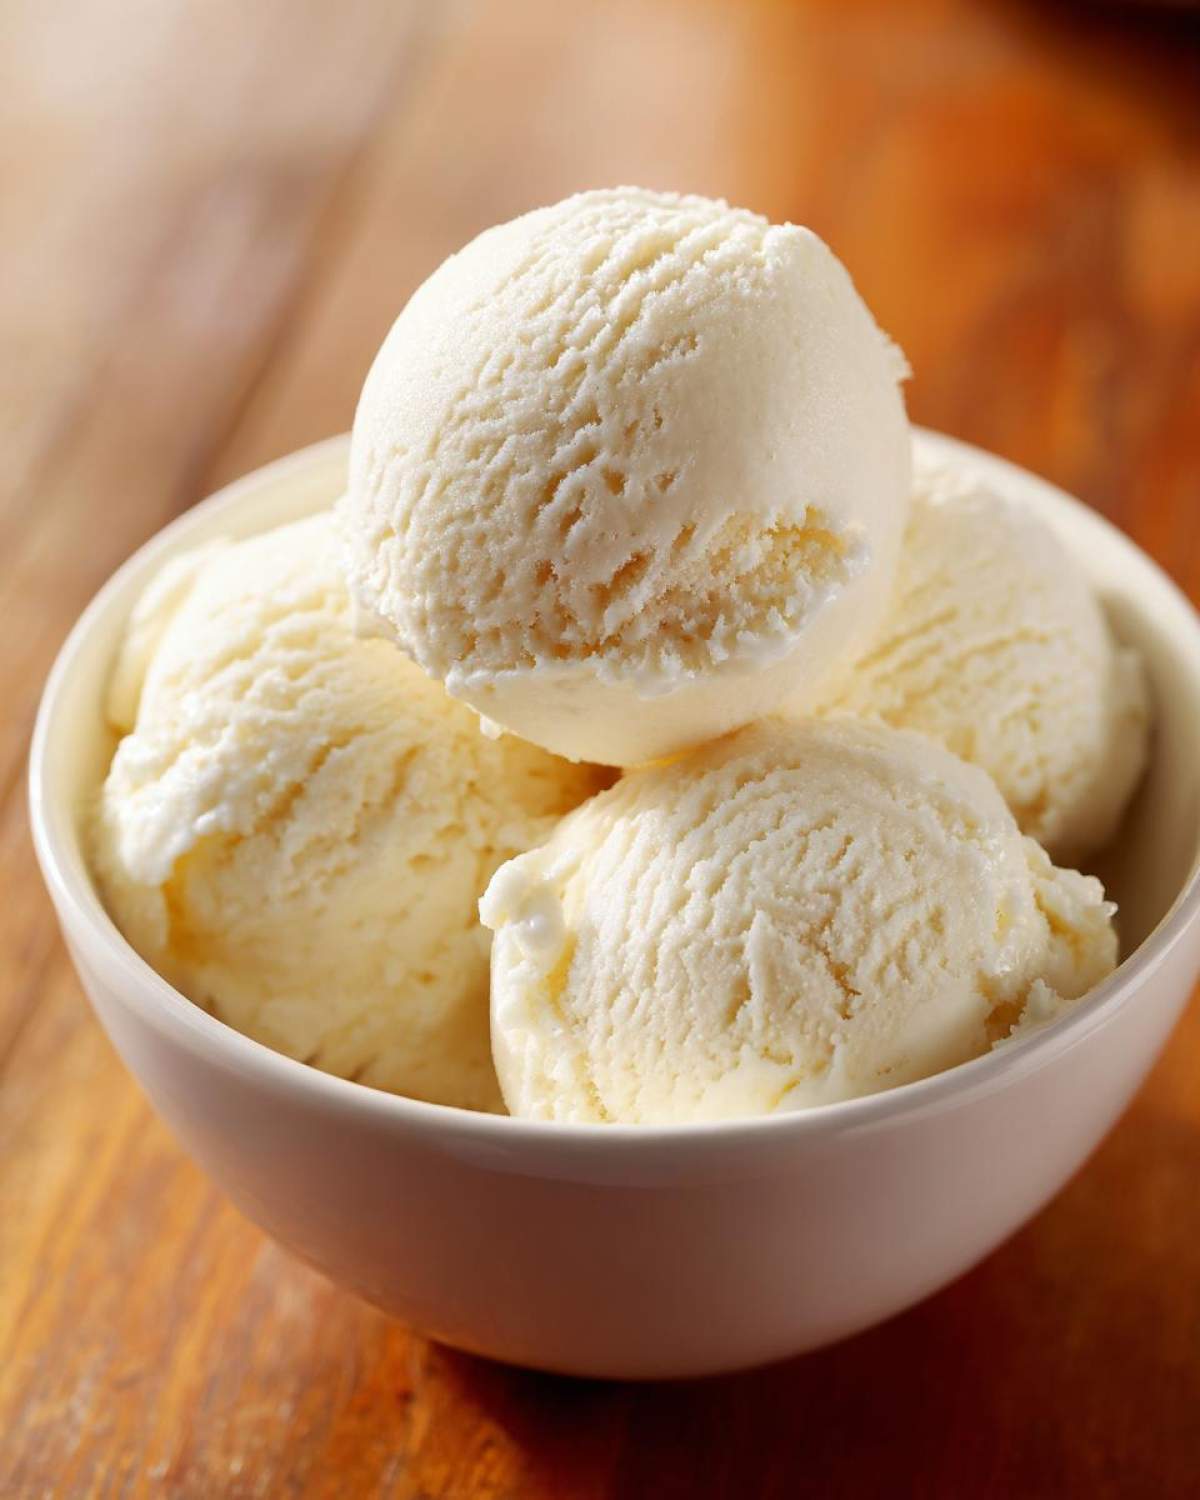
Now that you’ve mastered the scraping dance, I want to share a couple of extra secrets I’ve picked up over the years of testing these Greek Yogurt Ice Cream Recipes. These little tweaks really elevate the base from good to absolutely sensational. Remember, we are aiming for the absolute Best Healthy Ice Cream Bases here, not just something ‘good enough’!
If you find yourself wanting that incredibly decadent mouthfeel that you get from full-fat ice cream, I have a trick! Try substituting about a quarter cup of that Greek yogurt with a quarter cup of softened cream cheese before you start your initial whisking. Yes, cream cheese! It melts beautifully into the cold ingredients, adds a lovely tang, and creates an unbelievably rich texture without adding much more sugar. Just make sure it’s really soft before you try to combine it, otherwise, you’ll be fishing out little white chunks!
Also, don’t be shy with that vanilla extract. Two teaspoons, or even a dash of almond extract with the vanilla, really makes the sweetness pop without needing to add more sweetener. Always remember our goal: satisfying flavor with smart ingredients!
Serving Suggestions for Your Guilt Free Frozen Treats
The best part about this creamy vanilla **protein ice cream** is that it is practically begging for toppings! Even though it’s delicious all on its own (straight from the freezer after a hard scraping session, trust me!), dressing it up turns it into a true dessert experience. Leo and I love putting things on top that feel indulgent but keep us firmly in the realm of Guilt Free Frozen Treats.
Here are a few ways we like to serve up our scoops:
- The Fresh Fix: A handful of fresh raspberries or sliced strawberries really brightens up the vanilla flavor. They provide sweetness and a little bit of necessary texture contrast.
- Chocolate Dusting: A very light dusting of unsweetened cocoa powder right before serving adds that deep chocolate note without adding any sugar load. It looks so elegant, too—like something fancy from a restaurant!
- Warm & Cold Combo: If you happen to have my easy apple crumble still warm on the counter, a scoop of this cold vanilla **protein powder dessert** perched right on top is pure bliss. The temperature contrast is everything!
- Crunch Factor: For a little healthy crunch, sprinkle on a teaspoon of chopped toasted pecans or walnuts. It gives you that satisfying sound when you bite down.
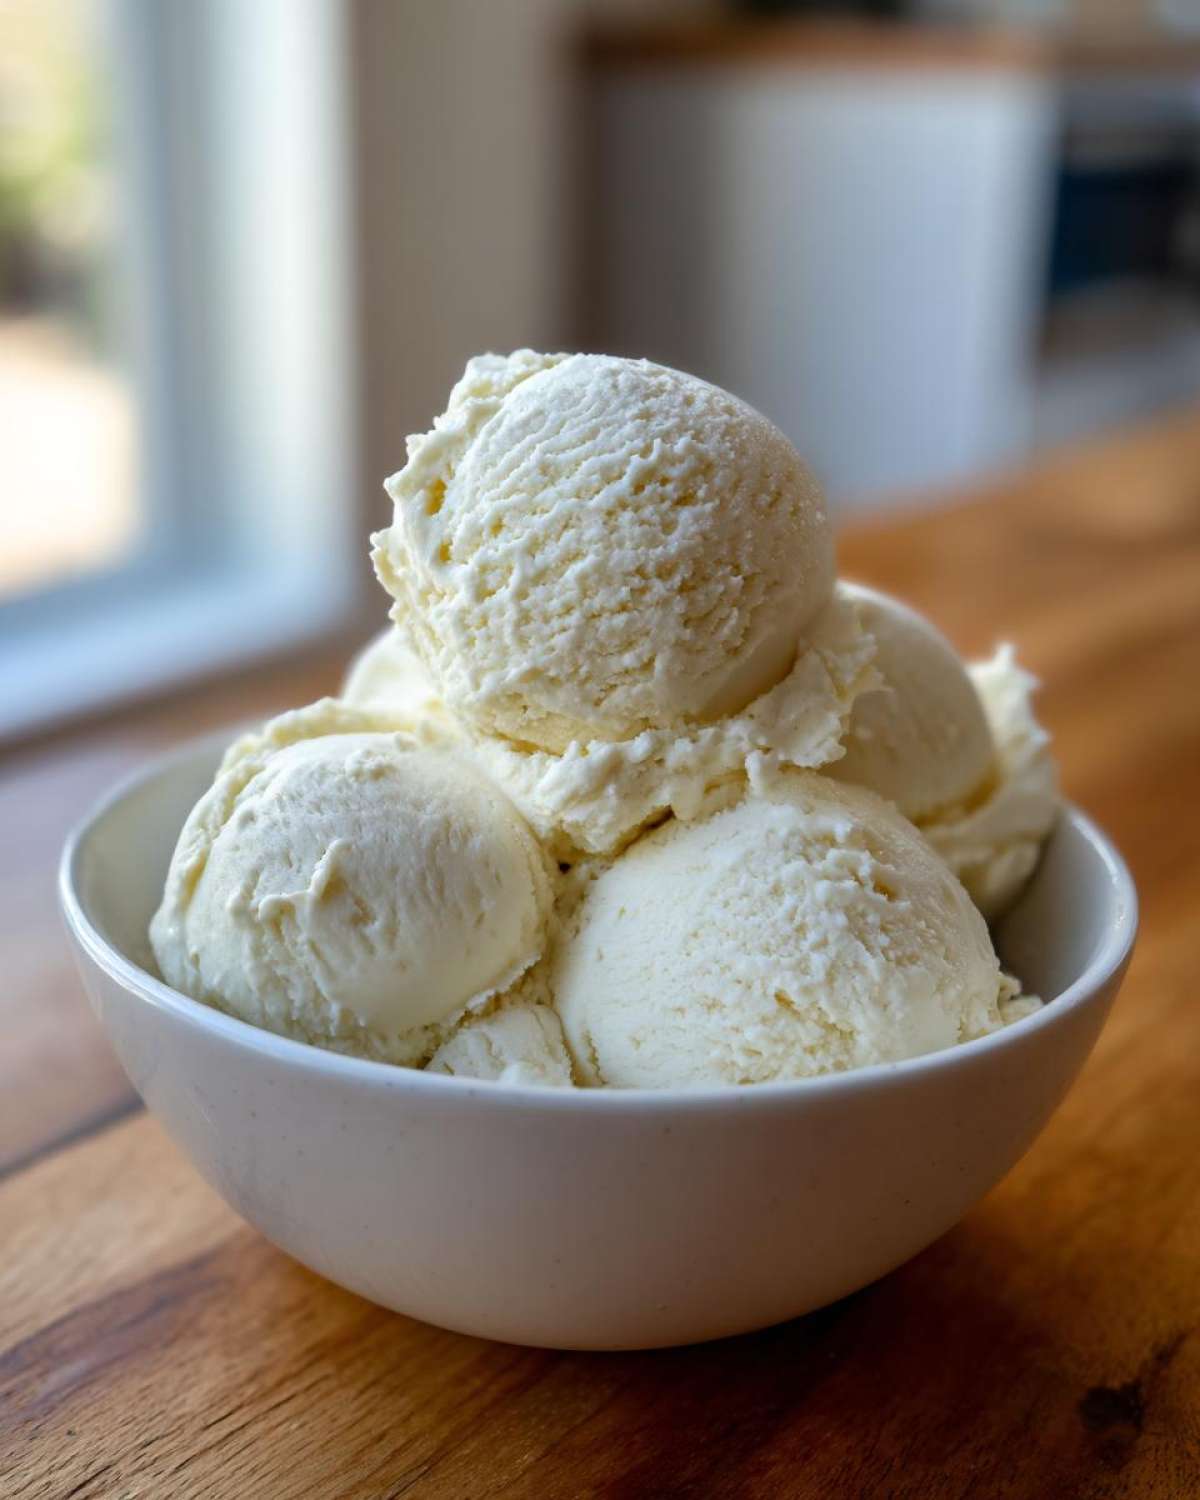
See? It’s so easy to make this batch of **healthy homemade ice cream** feel like a special occasion, no matter what day of the week it is!
Storing and Reheating Your Homemade Protein Ice Cream
Now that you’ve done all that scraping work—and believe me, you earned this scoop!—you need to know how to tuck that beautiful **protein ice cream** away for later. Remember, because we aren’t using a ton of stabilizers like the big brands, this creamy goodness needs a little respect in the freezer department. The absolute number one rule, and I learned this the hard way after wasting a very expensive batch of salted caramel flavor, is: use an airtight container. Seriously, don’t just leave it in the mixing bowl with plastic wrap over the top unless you plan to eat it all tonight!
When stored correctly in a truly sealed container, this **Greek yogurt ice cream recipe** stays perfectly delicious for about three to four weeks. Any longer than that, and while it’s probably still safe, the texture might start getting a little more dense, especially if you used lower-fat yogurt.
Now, here’s the critical part about serving it again because it’s not like regular ice cream. When you pull it out, it will be rock hard because Greek yogurt freezes quite solidly! Don’t try to smash it with your scoop right away, or you’ll end up bending the handle—Leo’s already broken two spoons that way!
You must let it sit on the counter for about 10 to 15 minutes before you even think about scooping it. That slight softening time—or “temper time,” as Leo calls it—allows the fats and the protein structure to relax just enough. It brings it back to that perfect, scoopable consistency we worked so hard to achieve with all that scraping. Trust me, setting that timer for 10 minutes is the final, crucial step for enjoying your **low calorie ice cream ideas**!
Troubleshooting Common Protein Ice Cream Issues
Now, don’t panic if things don’t turn out perfectly the first time! Even here in our noisy kitchen, we have the occasional “oops” moment. Making **protein ice cream** is different than churning a heavy cream base, so sometimes the ingredients react a little differently in the freezer. But that’s okay! We are figuring this out together, and I’m here to tell you how to fix the two most common problems we run into when making these amazing healthy homemade ice cream batches.
First, let’s talk about the rock-hard situation. This happens if you prefer a very lean Greek yogurt or if your freezer runs exceptionally cold. If you pull it out and it’s basically concrete, don’t fret and don’t throw it out! For your next batch, when you are mixing the initial base ingredients, add just a tiny splash—maybe an extra tablespoon—of your almond milk. That little bit of extra liquid acts as an anti-freeze, helping the final product stay softer and more scoopable. It’s a tiny adjustment that makes a huge difference!
The second issue, and this one is linked back to that crucial first step, is graininess. If you taste a spoonful and it feels slightly sandy or bumpy, that usually means the protein powder didn’t fully dissolve into the yogurt mixture before you put it down to freeze. Remember how I talked about listening for the low hum on the mixer? That sound means it’s smooth! If you suspect you didn’t whisk long enough during the initial mixing of your protein powder dessert base, that grit will freeze in place. Always, always, always spend that extra minute making sure every single speck is incorporated—I promise it’s worth the extra whisking time!
Frequently Asked Questions About Protein Ice Cream
Leo and I always get questions about these healthy frozen treats, so I figured it’s best to gather the most common ones right here. Dealing with fitness goals and dessert cravings can be tricky, but once you know these little secrets, making amazing **protein ice cream** becomes second nature!
Can I use cottage cheese instead of Greek yogurt for this protein ice cream?
That is a fantastic question! Many recipes call for cottage cheese because it blends up well, but for this particular no-churn vanilla recipe, I strongly recommend sticking with the Greek yogurt base. The texture from plain Greek yogurt, especially the 2% or full-fat version, gives us that perfect richness required for scraping every hour. If you want to use cottage cheese, I’d suggest you look for a dedicated cottage cheese ice cream alternatives recipe, as the water content is usually different, and you might need to adjust your milk quantity significantly.
What is the absolute best way to use this base in a Ninja Creami machine?
Oh, if you own a Ninja Creami, you win the speed lottery! While this recipe is designed for making **ice cream without machine** intervention, the base works beautifully in the Creami because we used a full-fat yogurt and protein powder blend. The trick is preparation! You must mix the base and freeze it completely solid—I mean rock hard—for at least 24 hours. Once frozen solid in the container, run it on the ‘Lite Ice Cream’ setting first. If it’s still a little chalky after the first spin, add a splash of milk and run it on the Re-spin setting. You can find more ideas on optimization in my Ninja Creami Protein Recipes guide!
How can I make this recipe into Chocolate Protein Ice Cream?
This is so easy, it barely counts as a change! If you are craving rich, dark chocolate—one of the most popular Protein Ice Cream Flavors—just swap your protein powder! Use the same amount of high-quality chocolate protein powder in place of the vanilla. I usually add an extra teaspoon of unsweetened cocoa powder when I do this, too. It deepens the flavor immensely and gives you that rich look of a true **low calorie ice cream idea**. It’s delicious!
Will this still be a good ‘Post Workout Frozen Dessert’ if I don’t scrape it enough?
It will still have the protein, absolutely! That’s the magic of the ingredients we chose for this Post Workout Frozen Dessert. However, if you skip the scraping and it freezes solid, it becomes almost like an ice block, which you can’t really eat right away. The scraping isn’t just for texture; it incorporates crucial air, which makes the whole thing lighter and easier to digest immediately after a workout. If you must skip a scrape session, just plan for an extra 20 minutes of countertop softening time before you serve it!
Nutritional Snapshot of This Protein Powder Dessert
We’ve talked all about how delicious and satisfying this creamy **protein ice cream** is, but let’s be honest, for those of us counting macros, the numbers matter! I’ve compiled the estimated nutrition information right here so you can see how wonderfully this fits into a **protein powder dessert** plan. Leo is always thrilled when we can have something this sweet that keeps our goals (and waistlines!) firmly in check.
Remember, just like my grandmother’s famous carrot cake recipe, the final count depends a bit on what brand of protein powder you use, especially regarding sweeteners like erythritol! Think of these figures as your excellent starting guide for this Protein Powder Dessert.
- Serving Size: 1/2 cup
- Calories: 145
- Sugar: 4g (Mostly natural lactose from yogurt)
- Sodium: 110mg
- Fat: 3g
- Saturated Fat: 1g
- Unsaturated Fat: 2g
- Trans Fat: 0g
- Carbohydrates: 10g
- Fiber: 1g
- Protein: 22g! (That’s huge for ice cream!)
- Cholesterol: 15mg
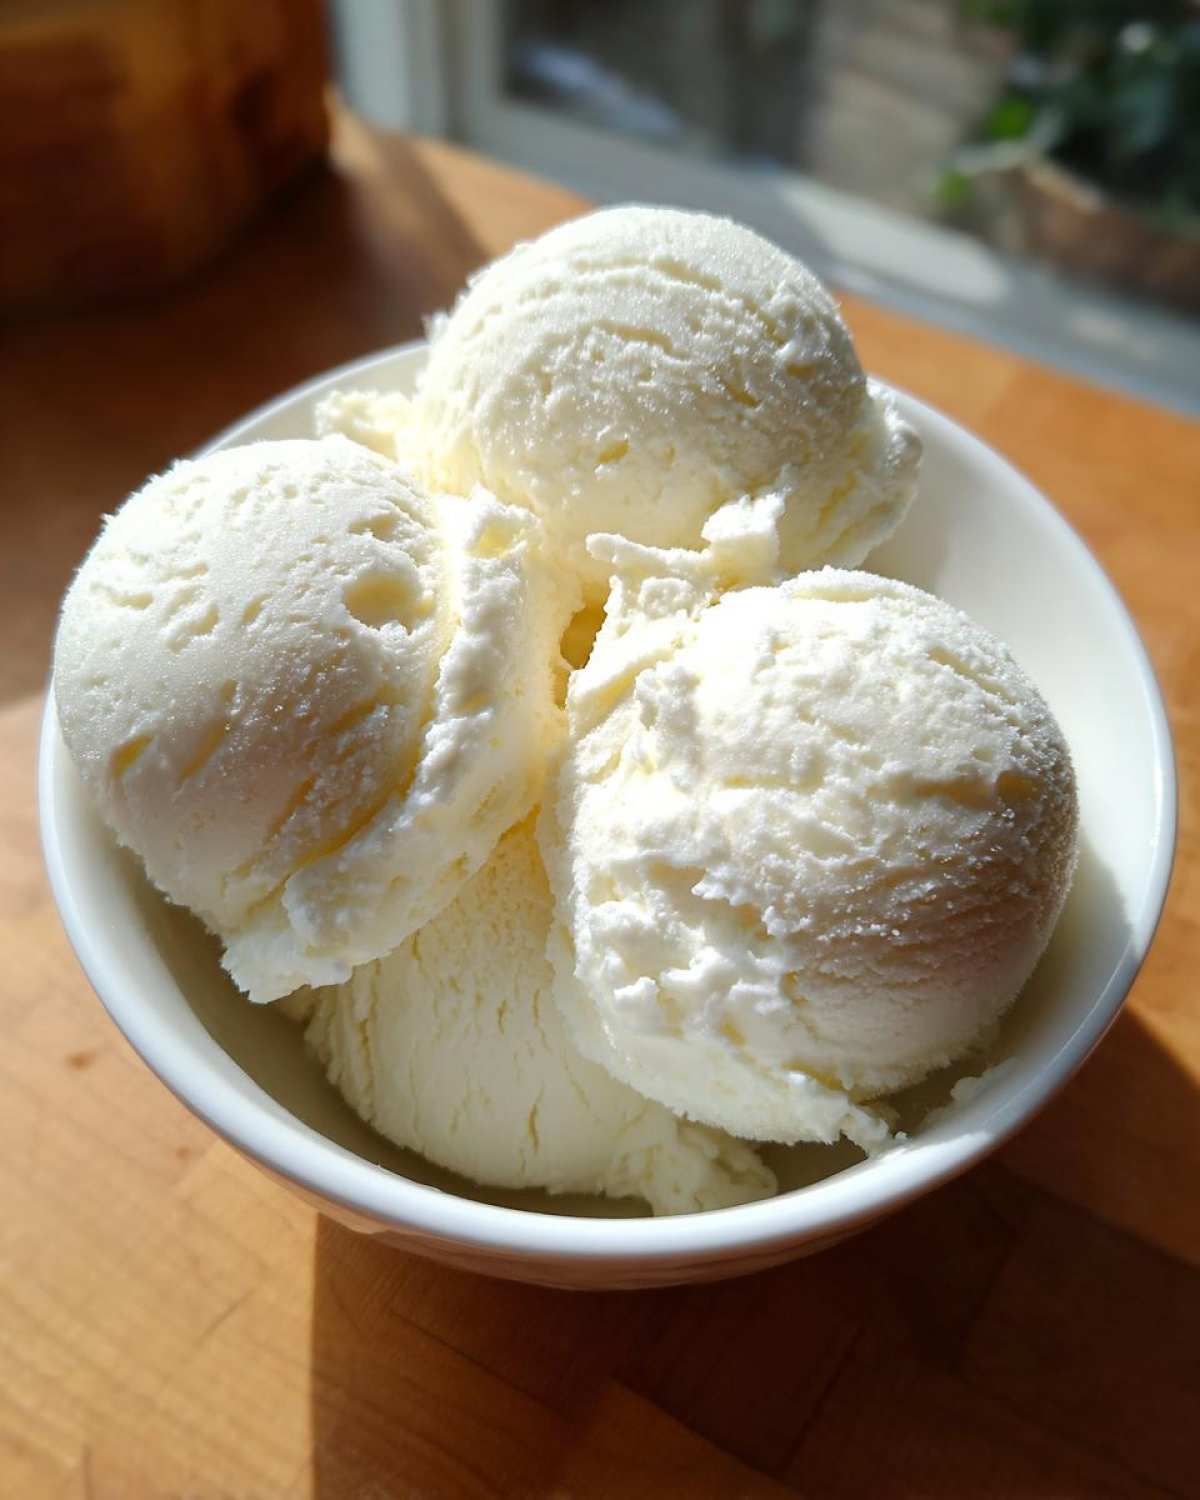
Isn’t that fantastic? Twenty-two grams of protein in half a cup of ice cream! That’s why we consider this one of the ultimate Macro Friendly Desserts. Just a quick note, though: these numbers are based on the ingredients shown in the recipe card using standard, average products. If you swap almond milk for whole dairy milk, or use a heavily flavored whey, those calories and carbs will shift just a tad. But overall, this sweet scoop keeps us happily on track!
PrintEasy No-Churn Vanilla Protein Ice Cream: Guilt-Free Frozen Treat
You can make this creamy, high-protein ice cream right in your kitchen without needing an ice cream maker. It is a simple, macro-friendly dessert that satisfies sweet cravings.
- Prep Time: 10 min
- Cook Time: 0 min
- Total Time: 4 hours 10 min
- Yield: 4 servings
- Category: Dessert
- Method: No-Churn Freezing
- Cuisine: American
- Diet: Low Fat
Ingredients
- 1 cup plain Greek yogurt (2% or full fat for best texture)
- 1/2 cup unsweetened almond milk (or milk of choice)
- 1 scoop vanilla protein powder (whey or casein blend works well)
- 1 tablespoon erythritol or preferred zero-calorie sweetener
- 1 teaspoon pure vanilla extract
- Pinch of salt
Instructions
- In a medium bowl, combine the Greek yogurt, almond milk, vanilla protein powder, sweetener, vanilla extract, and salt.
- Use a whisk or an electric hand mixer to beat the mixture until it is completely smooth and no lumps of protein powder remain. This step is key for a creamy texture.
- Pour the mixture into a freezer-safe container, like a loaf pan or a small plastic tub. Cover the container tightly with a lid or plastic wrap.
- Place the container in the freezer.
- After 1 hour, remove the container and use a fork to scrape and stir the edges and center of the mixture to break up any ice crystals forming. This mimics churning.
- Return the container to the freezer. Repeat this scraping and stirring process every 45 to 60 minutes for the next 3 to 4 hours, or until the ice cream reaches a firm but scoopable consistency.
- When ready to serve, let the protein ice cream sit on the counter for 5 to 10 minutes to soften slightly before scooping.
Notes
- For a richer, more decadent texture, substitute 1/4 cup of the Greek yogurt with 1/4 cup of light cream cheese, softened.
- If you prefer a specific flavor, you can substitute the vanilla protein powder with chocolate or salted caramel protein powder.
- This recipe avoids banana, which some people prefer not to use in their frozen treats.
- If you own a Ninja Creami machine, use this base mixture, freeze it solid for 24 hours, and process it on the ‘Lite Ice Cream’ setting for a faster result.
Nutrition
- Serving Size: 1/2 cup
- Calories: 145
- Sugar: 4
- Sodium: 110
- Fat: 3
- Saturated Fat: 1
- Unsaturated Fat: 2
- Trans Fat: 0
- Carbohydrates: 10
- Fiber: 1
- Protein: 22
- Cholesterol: 15