

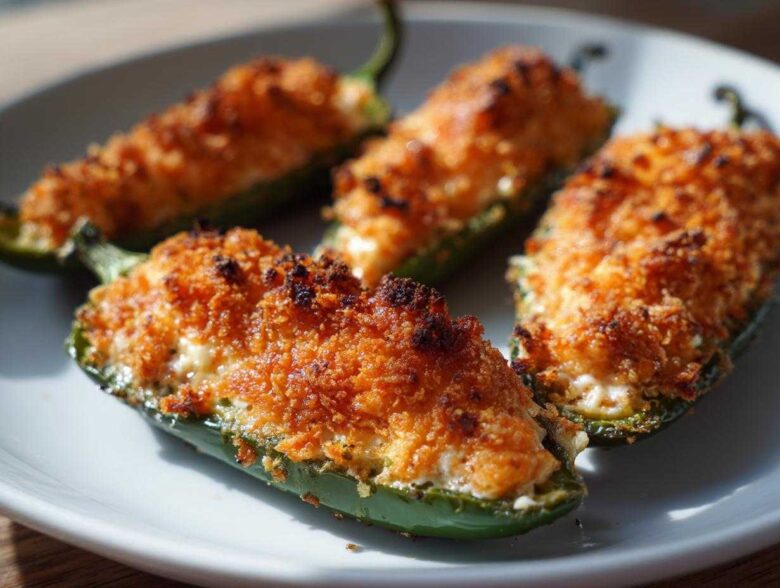
If there’s one thing Leo and I have figured out in retirement, it’s that appetizers should never be polite! When game night rolls around, or when the grandkids stop by unexpectedly, we need finger food that packs a punch. That’s why I’m handing over the baton so Leo can tell you about his absolute favorite: the ultimate jalapeño poppers. He insists that these are better than any version we used to meekly serve at PTA meetings. The best part? We skip the sputtering, scary deep fryer entirely! These are simple, cheesy, and perfectly crispy thanks to a clever baking method. It’s finding that new, loud joy in our kitchen, one spicy bite at a time.
Why You Will Make These Easy Baked Jalapeño Poppers
Leo and I have tested every trick in the book over the years, and I promise, these jalapeño poppers beat anything bought frozen or deep-fried. When you’re ready to amp up your appetizer game without adding stress to your evening, this recipe is your ticket. It just sings!
- They are baked, not fried! This massively cuts down on cleanup and the potential for kitchen scares. We get that perfect crispy brown crust using just a touch of melted butter and panko.
- The filling is incredibly creamy. That blend of cream cheese and sharp cheddar melts together beautifully around the pepper walls, taming that initial spicy kick.
- They come together fast. With just 20 minutes to prep and 20 minutes in the oven, you’re looking at a fantastic party spread in under an hour total. Who doesn’t love quick results?
- You control the heat! I’ll show you exactly how to scoop out those spicy membranes so your guests get that wonderful pepper flavor without any unexpected fire. Pure genius, if I say so myself.
Gathering Ingredients for Flavorful Jalapeño Poppers
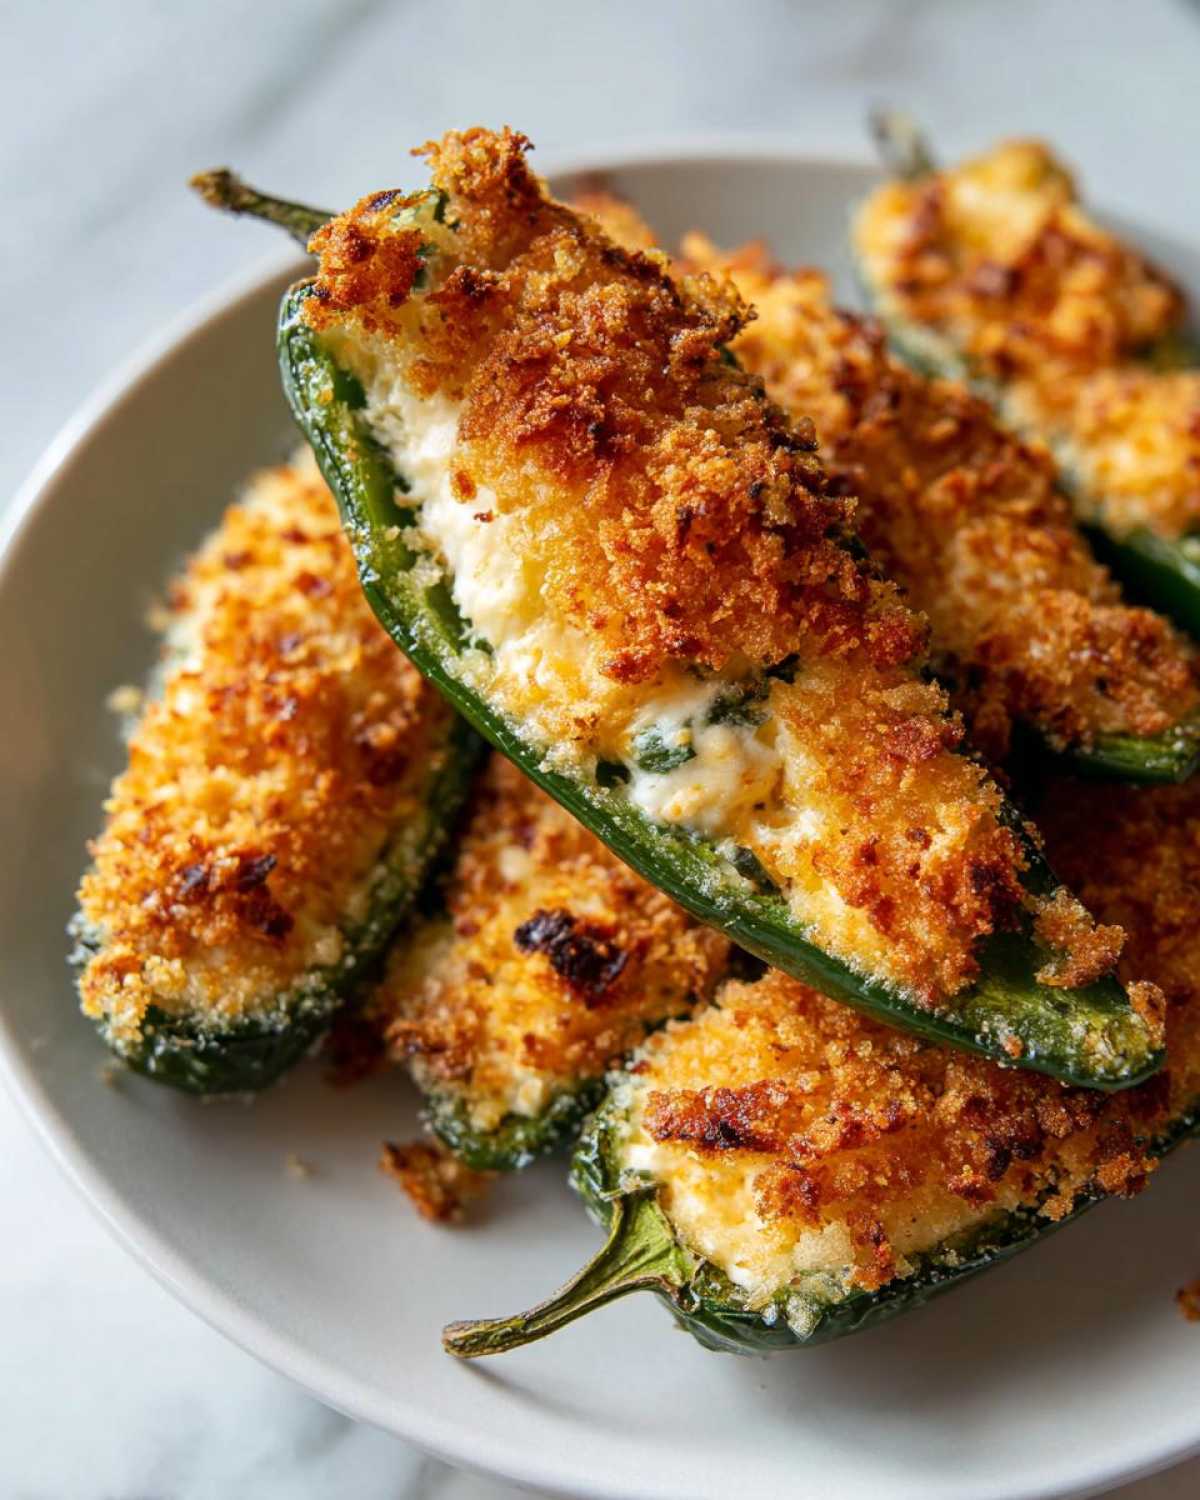
Don’t even *think* about skimping on the quality here! Leo always says that for an appetizer this simple, the ingredients have to shine. Since these are mostly cheese and peppers, the flavor impact is huge. We’ve listed everything you need below to get started on these amazing cream cheese stuffed jalapeños. Grab your shopping list!
For the Filling:
- 8 ounces cream cheese, softened until it’s perfectly spreadable.
- 1 cup shredded sharp cheddar cheese—Leo insists sharp cheddar cuts through the richness perfectly.
- 1 teaspoon garlic powder.
- 1/2 teaspoon onion powder.
- 1/4 teaspoon salt and the same amount of black pepper.
For the Shells and Topping:
- 12 large jalapeño peppers—make sure they are firm!
- 1/2 cup panko breadcrumbs, because they offer the crunchiest topping.
- 2 tablespoons melted butter for tossing with the panko.
Tip from Leo: Always shred your own cheddar if you can! Pre-shredded cheeses use anti-caking agents that make the filling grainy instead of smooth and melty. He gets very passionate about avoiding waxy cheese!
Expert Tips for Preparing Jalapeño Poppers Safely
Alright, let’s talk about the pepper itself. Handling these beautiful little flavor bombs requires respect! This is the part where I tell you to listen to me very closely, because while these cream cheese stuffed jalapeños are mild once baked, the raw pepper oil, capsaicin, can really sting your skin if you aren’t careful. Leo won’t even slice peppers unless he’s wearing gloves—and you shouldn’t either!
You’ll want to wear disposable kitchen gloves for the entire prep time. Once they are sliced open lengthwise, you are ready to choose your spice level. For the absolute gentlest popper, scrape out everything—all the seeds *and* all that white pithy membrane attached to the inside wall. If you leave any of that white stuff behind, trust me, you’ll feel the kick when you take that first bite!
Controlling the Heat in Your Jalapeño Poppers
It’s all about that inner membrane, folks. The seeds are messy, but the white veins clinging to the pepper wall are where most of the heat lives. If you like a medium spice level for your jalapeño poppers, just scoop out the seeds and leave a *little* bit of that white attachment. If you’re serving these to people who run from black pepper, make sure you scrape gently with the side of your small spoon until the inside wall is mostly clean.
We found a fantastic recipe for a cheesy dip that goes great with uncut poppers if you want to skip the slicing altogether sometime. You can read about that right here: Our famous Jalapeño Popper Dip! But for these baked halves, careful cleaning leads to happy tasters.
Step-by-Step Instructions for Perfect Baked Jalapeño Poppers
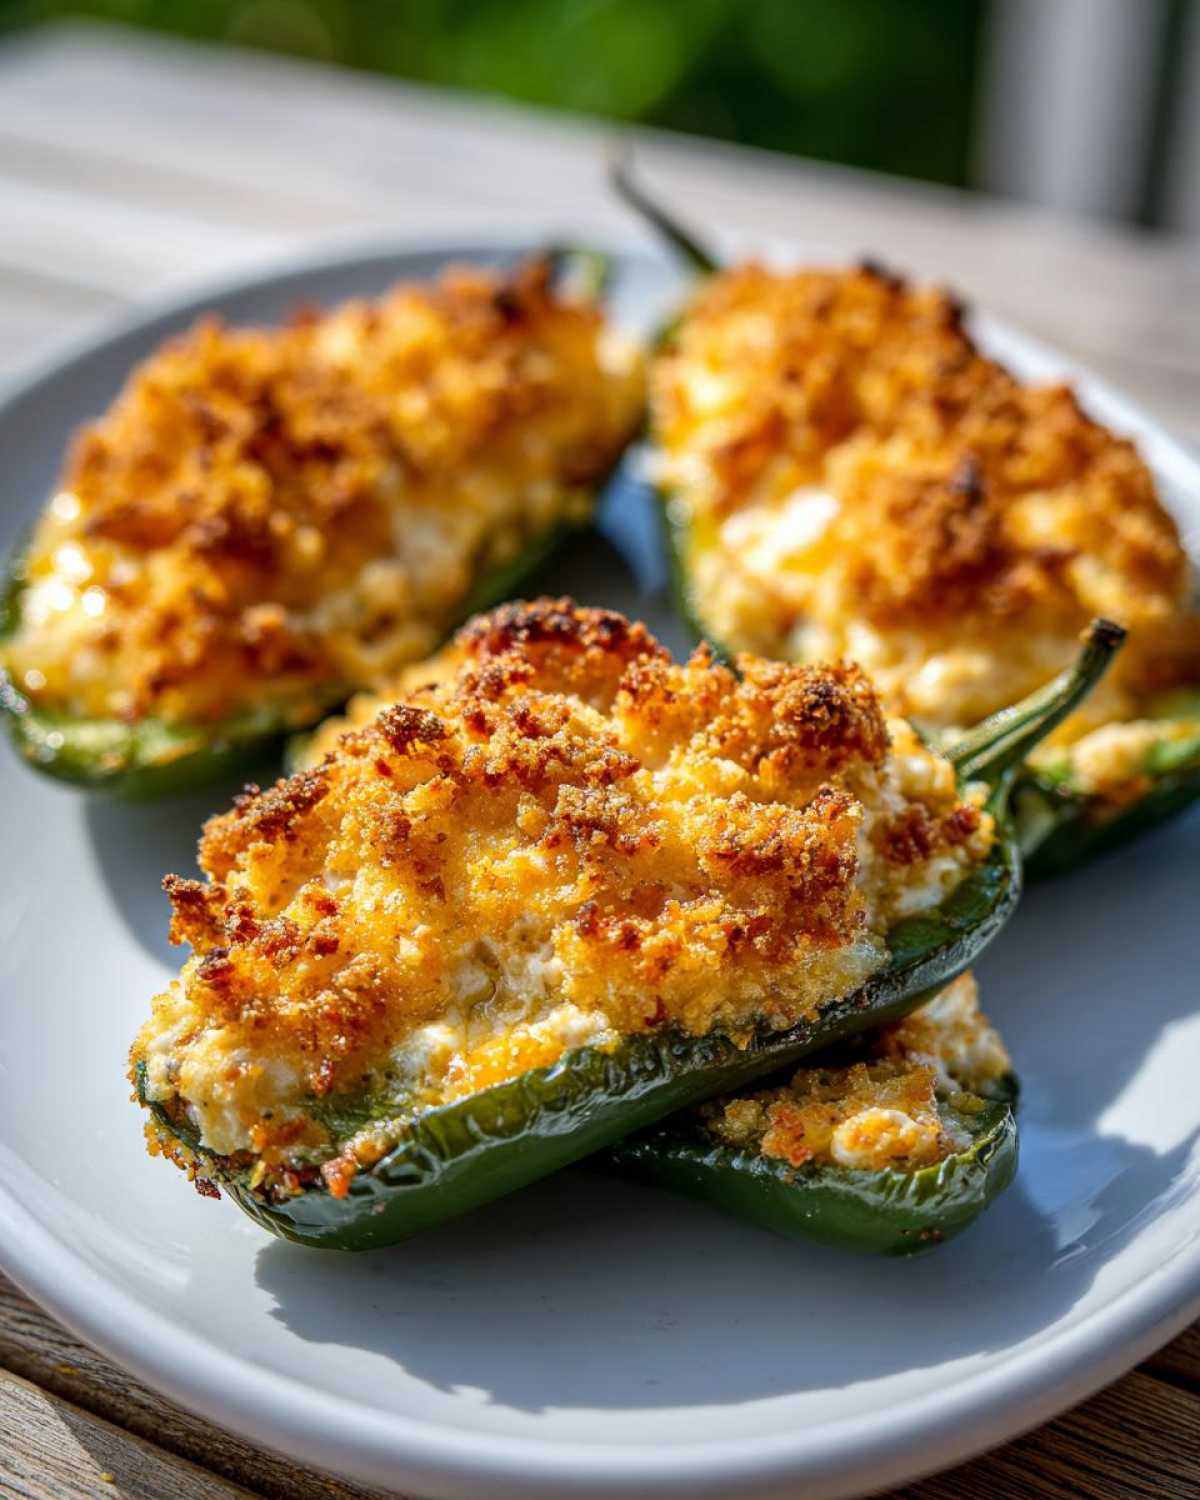
Now for the fun part! Once your peppers are prepped and your cheese mixture is ready, putting these baked jalapeño poppers together is actually quite quick. Remember, we’re aiming for that beautiful meltiness without the oil splatter. First things first: get your oven humming at 400 degrees Fahrenheit and line up your baking sheet with parchment paper. This makes cleanup practically nonexistent, which I certainly appreciate!
Mixing the Cream Cheese Stuffed Jalapeños Filling
This step is all about smoothness. You need your cream cheese to be completely softened—I mean really squishy, not just warm on the outside. Dump your softened cream cheese, the sharp cheddar, and all those lovely seasonings (garlic powder, onion powder, salt, and pepper) into a mixing bowl. Use a sturdy spoon or a hand mixer to whip this together until it’s completely homogenous. It should look gorgeous and creamy, with no streaks of white cream cheese left visible. You’re creating the perfect fluffy nest for our peppers!
Topping and Baking Your Jalapeño Poppers
Once the filling is mixed, it’s time to work fast! Spoon that delicious cheese mixture evenly into every empty pepper hull. Don’t be shy; mound it up just a little bit so it looks inviting. Next, toss your panko breadcrumbs right in the melted butter until every crumb is lightly coated—this is what gives us that fantastic golden crunch. Sprinkle this buttery panko over the mounds of cheese in each pepper half. Place them snuggly on your prepared sheet and slide them into that hot oven. Bake them for about 18 to 20 minutes. You’re watching for the peppers to look tender and that panko topping to be utterly golden brown and gloriously bubbly—that’s how you know they are done!
Variations: Making Bacon Wrapped Poppers and More
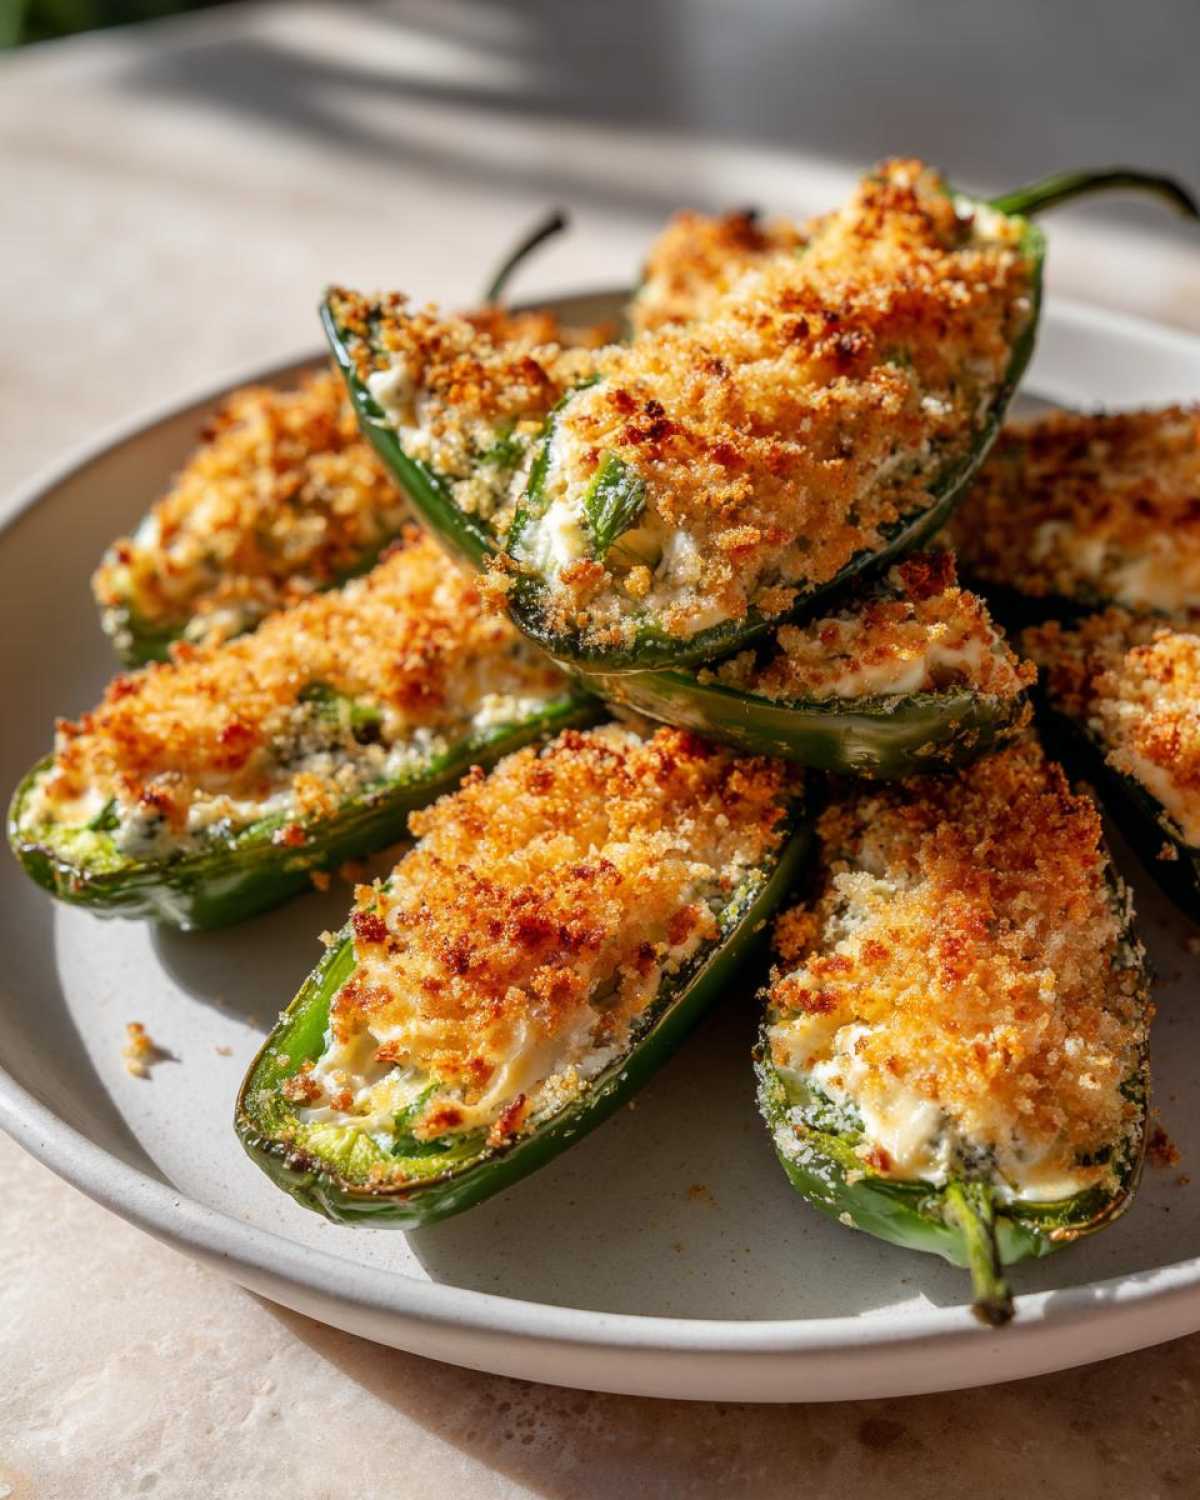
Now, I know what Leo immediately asked when I showed him this recipe: “Clara, can we wrap these jewels in bacon?” And honestly, yes, you absolutely should! If you want to turn these lovely vegetarian poppers into snack royalty, wrapping them in bacon is the only way to go. It adds that smoky, salty fat that makes everything better, doesn’t it?
To create these fantastic bacon wrapped poppers, you’ll take each stuffed pepper half—the one with the creamy filling and panko topping—and wrap it snugly with just half a strip of bacon. You might need to secure it with a toothpick if the bacon is sliding around, but usually, they hold together fine. Because bacon adds extra insulation and takes longer to render, you need to give them more time in the oven. I’d bump that bake time up closer to 25 or 30 minutes, just keep an eye on the bacon until it’s beautifully crisp.
But wait, there are other little tweaks you can make inside the filling to add dimension! While Leo is usually focused on the bacon, I’ve been playing with spices in the cheese mixture lately. If you want a deeper, earthier flavor that complements the cheddar perfectly, try whisking in about one teaspoon of smoked paprika when you mix your cream cheese. It gives the filling a subtle barbecue note without adding any more heat. Or, if you want a little brightness, take the advice from my notes and fold in some finely chopped chives. They add a lovely oniony freshness that cuts through the richness. It’s these little improvisations that keep our kitchen music sounding fresh!
Tips for Success When Making Jalapeño Poppers
You know, baking is a bit like conducting an orchestra; you need control, but you also need to let the instruments breathe! We’ve covered the main steps for these amazing jalapeño poppers, but here are a few extra little secrets Clara and I use here at the Tribune to ensure they come out looking and tasting like five-star appetizers every single time.
First up is Leo’s firm rule about stuffing. He gets grumpy if the filling is piled too high! Don’t overstuff your peppers. If the cheese mixture bulges out too much over the sides *before* baking, it tends to burn or melt off completely during the 20 minutes in the oven, leaving you with sad, hollow pepper shells. You want a nice, generous mound, but keep the edges clean enough so the panko topping stays where it belongs.
If you want the gorgeous, professional look—the kind that makes people think you’re far more organized than you actually are—you have to try piping! Instead of using a spoon to dollop the cheese mixture in, scoop the filling into a sturdy zip-top bag. Snip a small corner off the bottom edge, and you can pipe the cheese into the peppers perfectly evenly. It’s neat, tidy, and Leo says it makes the presentation look like a polished debut concert. You can find some of our favorite baking tips over on the main blog page if you’re looking for more tidbits like this!
Another thing I’ve learned is about cooling time. These poppers come out screaming hot, and that creamy cheese holds heat exceptionally well. Just like with a piping hot cup of coffee, you need patience! Let them rest on the baking sheet for at least five minutes after they come out of the 400°F oven. This allows the filling to set up just a bit. If you rush them, you end up with molten cheese all over your plate instead of a firm, satisfying bite. Trust me on the cooling time; it’s worth the wait, I promise!
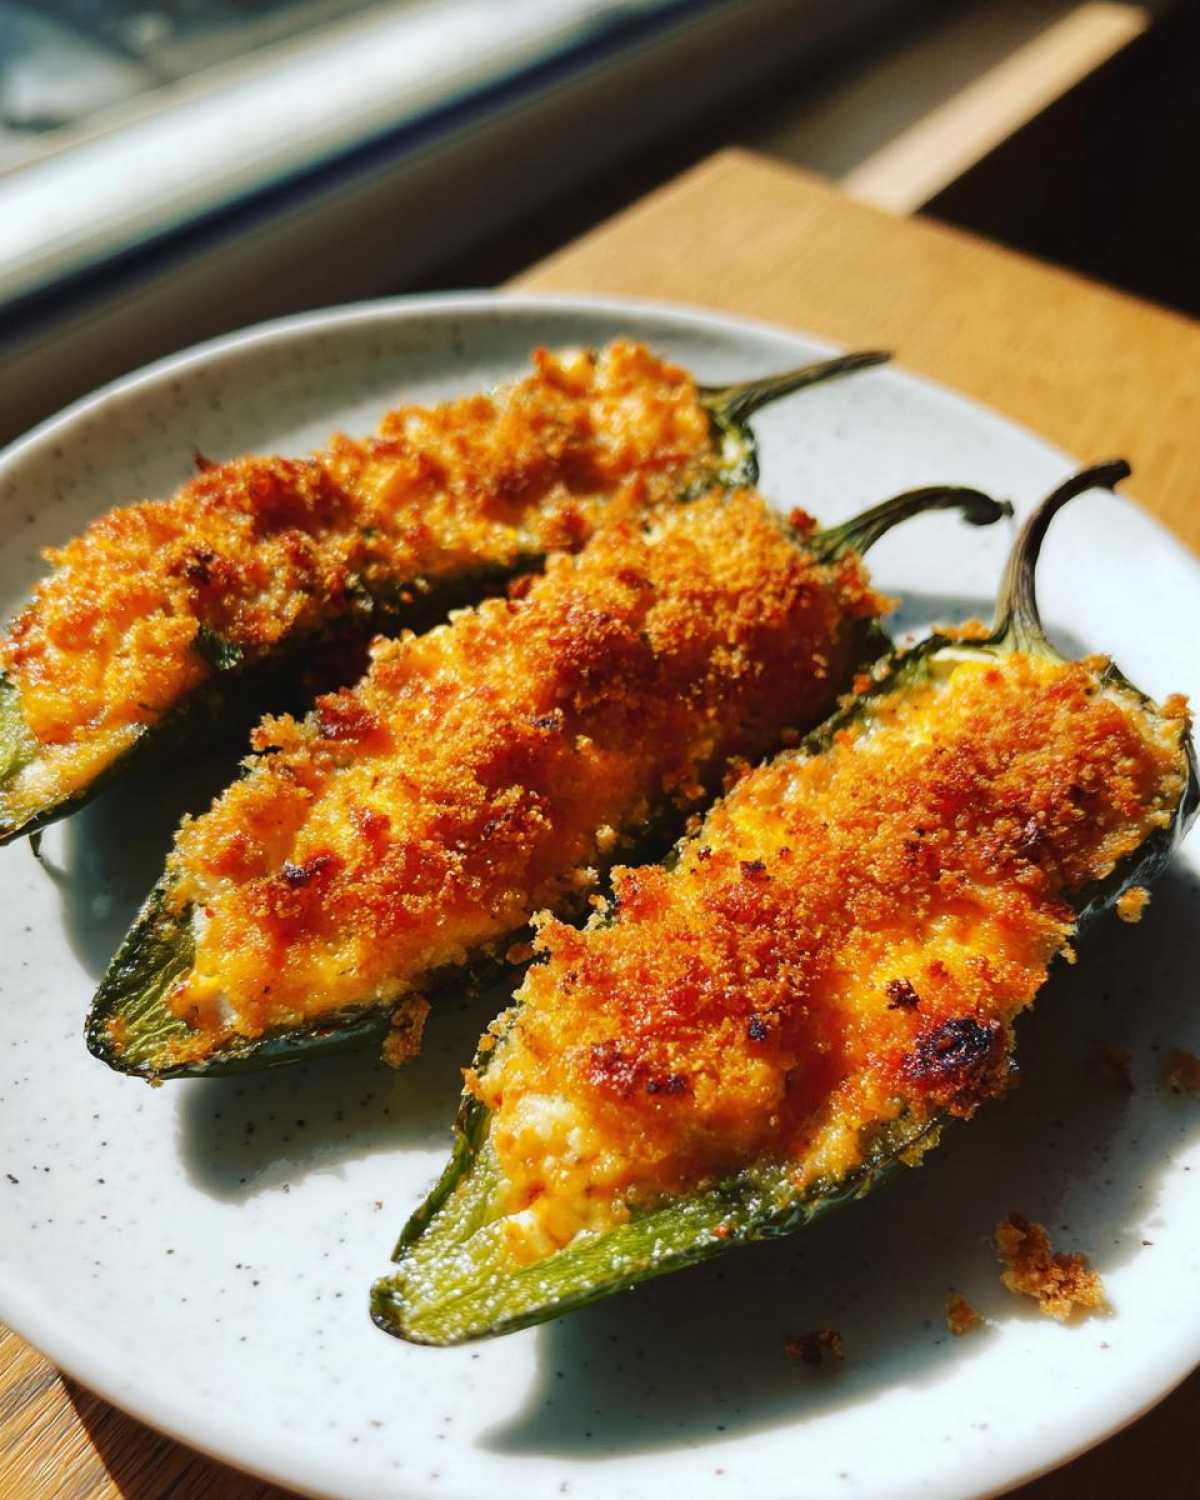
Storing and Reheating Your Spicy Appetizer Poppers
These amazing spicy appetizer poppers taste best fresh from the oven, of course, but leftovers are a serious bonus for snacking the next day! If you have any left, just pop them into an airtight container and keep them tucked away in the refrigerator for up to three days. Don’t bother with the microwave when reheating, though—that just turns the crispy panko topping into something sad and soggy, which we just can’t allow!
To bring back that golden crunch, you absolutely need dry heat. I use my little toaster oven for this! Just arrange the poppers in a single layer, set it to about 350 degrees, and warm them up for about 6 to 8 minutes. They come out almost as good as new, with the cheese gooey and the topping crisp again. Seriously, the toaster oven is retirement’s best kitchen friend!
Frequently Asked Questions About Jalapeño Poppers
Leo and I always get questions after a party about how we manage to keep everything tasting fresh and hot. Since you’re here looking for the best recipes, I figured I’d answer a few of the things readers ask about most frequently when making these easy appetizers. We want your kitchen symphony to sound perfect!
Can I use frozen jalapeños instead of fresh ones?
Oh, that’s a tricky one. I strongly advise against using frozen peppers for these particular baked jalapeño poppers. When jalapeños freeze and thaw, they lose a lot of that firm structure they need to hold the cheesy filling. They tend to get very watery and collapse into mush in the oven. Stick to fresh, firm peppers for the best results, even if you have to buy them a few days ahead of time!
What is the absolute best cheese to use besides sharp cheddar?
Leo claims that we should always stick to the classic cheddar/cream cheese combo, but I’ve been experimenting! If you want to keep that amazing melt factor while changing the flavor profile slightly, try swapping half of the sharp cheddar for pepper jack. It’s wonderful because it actually adds another layer of gentle spice right into the filling of your cream cheese stuffed jalapeños. For a milder, creamier option, Mozzarella works well for texture, but you need a sharper cheese like Pepper Jack to maintain that flavor punch.
Can I make these spicy appetizer poppers ahead of time and freeze them?
Yes, you absolutely can! This is such a great tip for busy hosts. You can stuff all the peppers, top them with the panko, and then arrange them neatly on your baking sheet. However, do *not* add the melted butter to the panko yet—keep the crumbs dry for now. Cover the whole tray tightly with plastic wrap and freeze them solid. When you are ready to bake, just skip the preheating step for a moment, unwrap them, brush the tops with melted butter, and add about 5 to 8 minutes to the baking time. They freeze beautifully! If you’re looking for more ideas to freeze ahead for game day, check out our archive of easy snack ideas.
What if I don’t have panko breadcrumbs for the topping?
If you’re in a pinch and don’t have panko, regular plain breadcrumbs will work, but they won’t give you that same phenomenal crunch. If you only have regular crumbs, try toasting them lightly in a dry skillet for about two minutes before tossing them with the butter. That little bit of toasting helps them crisp up faster in the oven so they don’t soak up too much oil from the cheese melting out. We always prefer the loud crunch of panko, but necessity is the mother of invention, right?
Estimated Nutrition for These Jalapeño Poppers
We try to keep track of these things, though remember that Leo is the composer, not the nutritionist! The following values are estimates based on two jalapeño poppers made according to the exact recipe listed here. Since cheese content varies so wildly, these numbers are a general guideline.
- Serving Size: 2 poppers (1 half-pepper each)
- Calories: 145
- Fat: 12g (with 7g saturated fat)
- Carbohydrates: 4g
- Protein: 6g
- Sodium: 210mg
Easy Baked Jalapeño Poppers with Cream Cheese Filling

Make these simple baked jalapeño poppers for a spicy, cheesy appetizer perfect for game night. We show you how to control the heat!
- Prep Time: 20 min
- Cook Time: 20 min
- Total Time: 40 min
- Yield: 24 pieces
- Category: Appetizer
- Method: Baking
- Cuisine: American
- Diet: Vegetarian
Ingredients
- 12 large jalapeño peppers
- 8 ounces cream cheese, softened
- 1 cup shredded sharp cheddar cheese
- 1 teaspoon garlic powder
- 1/2 teaspoon onion powder
- 1/4 teaspoon salt
- 1/4 teaspoon black pepper
- 1/2 cup panko breadcrumbs
- 2 tablespoons melted butter
Instructions
- Preheat your oven to 400 degrees Fahrenheit. Line a baking sheet with parchment paper.
- Wear gloves to handle the jalapeños. Slice each pepper in half lengthwise. Use a small spoon to carefully scoop out the seeds and white membranes. For less heat, scrape out more of the membrane.
- In a medium bowl, combine the softened cream cheese, cheddar cheese, garlic powder, onion powder, salt, and pepper. Mix until the filling is smooth and well combined.
- Spoon or pipe the cheese mixture evenly into each jalapeño half, mounding it slightly.
- In a small bowl, toss the panko breadcrumbs with the melted butter until coated. Sprinkle the breadcrumbs over the top of the cheese filling in each pepper half.
- Place the stuffed peppers on the prepared baking sheet.
- Bake for 18 to 20 minutes, or until the peppers are tender and the topping is golden brown and bubbly.
- Let the spicy appetizer poppers cool for a few minutes before serving.
Notes
- Always wear gloves when cutting jalapeños to protect your skin from the capsaicin oil.
- If you want to make bacon wrapped poppers, wrap each stuffed half with half a slice of bacon before baking. You may need to increase the cook time slightly until the bacon is crisp.
- For an extra layer of flavor, mix 1 tablespoon of finely chopped chives into the cream cheese mixture.
Nutrition
- Serving Size: 2 poppers
- Calories: 145
- Sugar: 1
- Sodium: 210
- Fat: 12
- Saturated Fat: 7
- Unsaturated Fat: 5
- Trans Fat: 0
- Carbohydrates: 4
- Fiber: 0
- Protein: 6
- Cholesterol: 35