

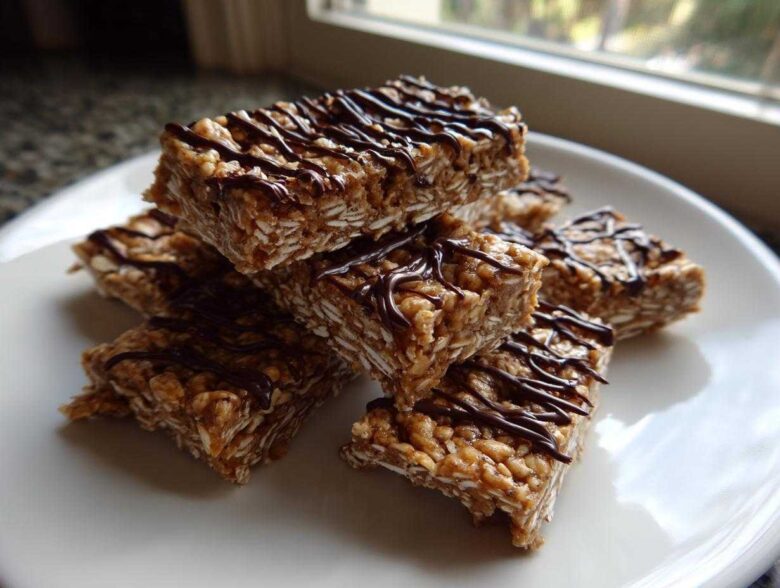
Oh, friends, are you tired of peeling back that crinkly wrapper on a store-bought snack only to find something chalky or swimming in ingredients you can’t pronounce? I swear, most commercial snacks are less “fuel” and more “flavor science experiment.” Leo and I have solved this drama right here in our kitchen. He was tired of expensive, overly processed options, so he whipped up this absolute gem: the Easy No-Bake 5-Ingredient Peanut Butter Protein Bars. As I always say, you can learn all about our mission to keep cooking noisy and joyful by checking out our About Us page! These are everything you want in homemade protein bars—quick, they use practically nothing from the pantry, they require zero oven time, and wow, do they taste good. Seriously, this one is front-page news in our Tasty Tribune!
Why These Homemade Protein Bars Are a Kitchen News Headline
When Leo first brought these out, I thought he’d cheated and bought the expensive ones! That’s how good the flavor is. We’ve tried loads of fussy recipes over the years, but these protein bars are the honest-to-goodness champions because they deliver on taste without demanding your entire afternoon. They are hearty, they stick together, and they don’t leave you feeling unsatisfied an hour later. We love that we know exactly what’s going into them.
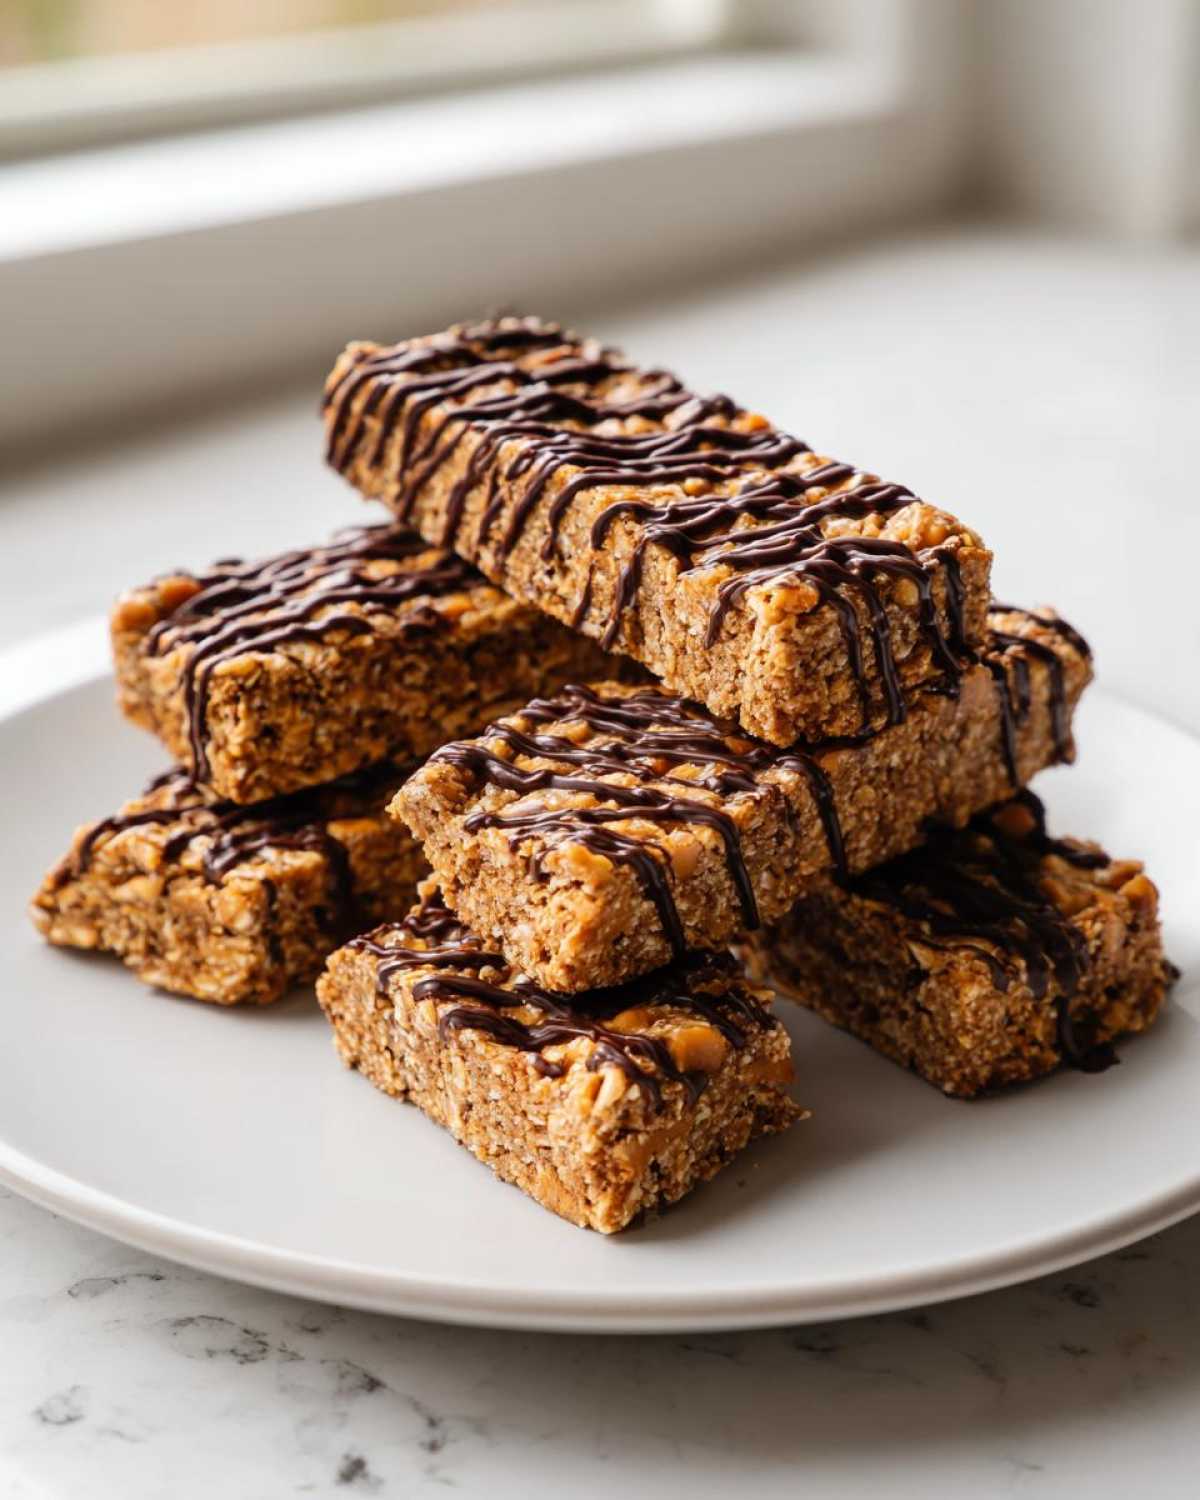
- They are substantially cheaper than grabbing a box from the store. Trust me, your wallet will thank us!
- We control the sugar and the quality of the protein powder—no weird fillers here.
- The peanut butter and oats combo gives you that satisfying chew that commercial bars often miss.
If you’re looking for something unbelievably simple to start your journey into making your own snacks, look no further. We even link out to some other helpful approaches for making custom snacks over at this guide on Easy Ground Beef Stovetop Chili if you need help rounding out your meal prep!
The 5-Ingredient Advantage for Easy Protein Bars
Five! That’s it! You read that right. We’ve managed to keep the ingredient list down to just five core things. This is what makes this recipe such a perfect entry point for anyone who thinks baking or meal prepping is too complicated. It’s exactly why Leo calls this the gold standard easy protein bar recipe. Fewer ingredients mean less measuring, less cleanup, and frankly, less chance for kitchen chaos to stop the process.
No Bake Protein Bars: Quick Prep, Maximum Flavor
The best part about these is that they’re no bake protein bars. Leo sets the mixing bowl aside, and honestly, the whole active assembly takes about 10 minutes flat. We do have to wait for the chilling time—that’s about an hour in the fridge—but that’s hands-off time! It’s time we use to catch up on the news or debate the merits of different spice blends. Total time from start to finish? Seventy minutes, and most of that is just letting the magic set up.
Gathering Your Ingredients for Perfect Peanut Butter Protein Bars
Now, for the mission briefing! Because Leo is determined that these peanut butter protein bars remain simple, we’re working with just five key players here. Don’t you love how minimal that is? It means you probably have everything sitting in your pantry right now. When you pull these items out, just pay attention to the specifics, okay? We need that nice, smooth, creamy peanut butter—none of that oily natural stuff that separates, unless you like a bit of drama in your dough!
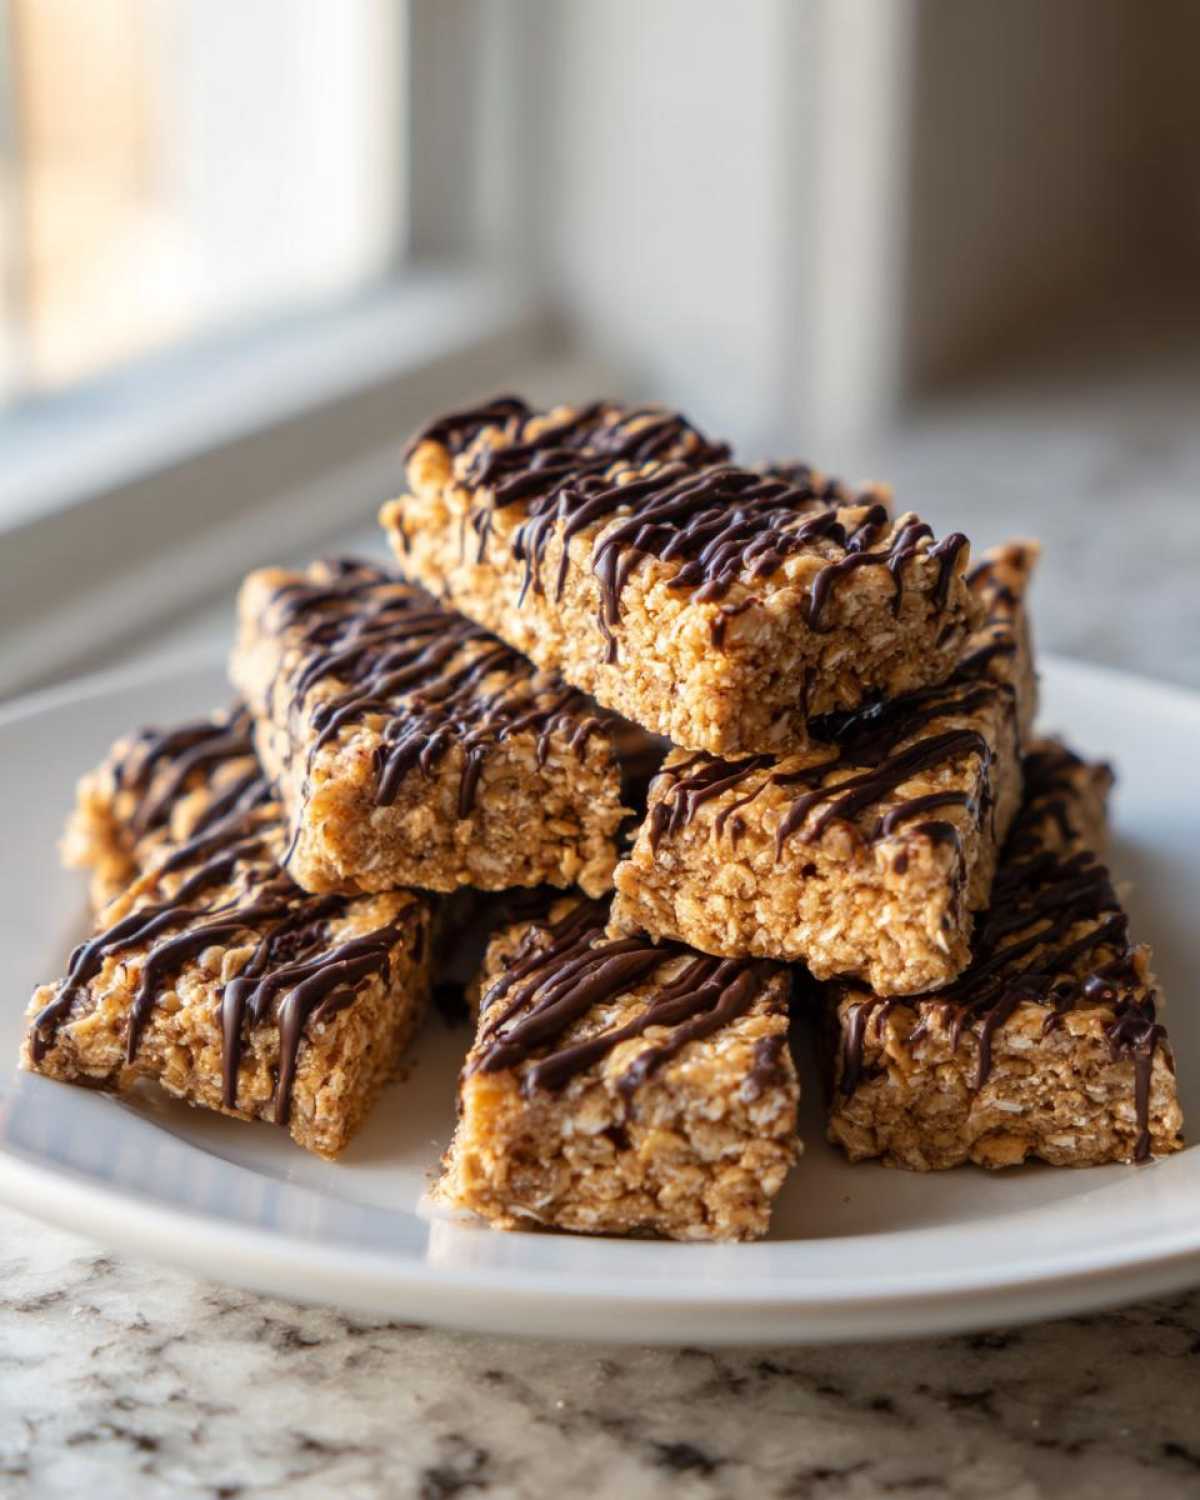
For the oats, make sure they are the classic rolled variety, not the instant kind, because we need texture here. And for the sweetener? I adore using maple syrup if we’re going plant-based (which we often do), but honey works just as beautifully. To learn more about customizing your snack base, I’ve put together a little write-up on Simple Ingredients for Amazing Homemade Protein Bars.
Here is the exact lineup you need for one 8×8 dish of glorious, chewy goodness:
- One cup of classic rolled oats.
- One full cup of creamy peanut butter.
- Half a cup of your favorite vanilla protein powder—this is the powerhouse!
- One-quarter cup of honey or maple syrup.
- And finally, a quarter cup of dark chocolate chips—mandatory for the drizzle, trust me!
Step-by-Step Guide to Making Your No Bake Protein Bars
Alright, let’s get composing! This is where the real fun starts, and where you realize how easy these protein bars actually are. Remember, we’re not dealing with fussy ovens or tricky folding techniques here. We are mixing, pressing, and chilling. If you want the full download on our preferred chilling methods, check out my thoughts on that Easy No-Bake Classic Tiramisu Recipe over here—the principle of chilling is everything!
First things first: prep your 8×8 dish with parchment paper. Make sure you leave those generous flaps hanging over the sides. That’s your built-in handle for later, and trust me, you want it.
Mixing the Base Dough for Chewy Protein Bars
Time to combine the bulk of the ingredients in a big bowl! Get that peanut butter, protein powder, oats, and sweetener all mixed up. Now, this part can look a little sad at first—like it’s never going to come together—but don’t worry! Leo always says, “If you’re afraid to get your fingers dirty, you’re not truly cooking!” You might have to stop stirring with a spoon and just use your hands to really work everything together until you get that thick, uniform dough. We’re aiming for something that feels cohesive, not sticky sludge, okay?
Chilling and Cutting Your Homemade Protein Bars
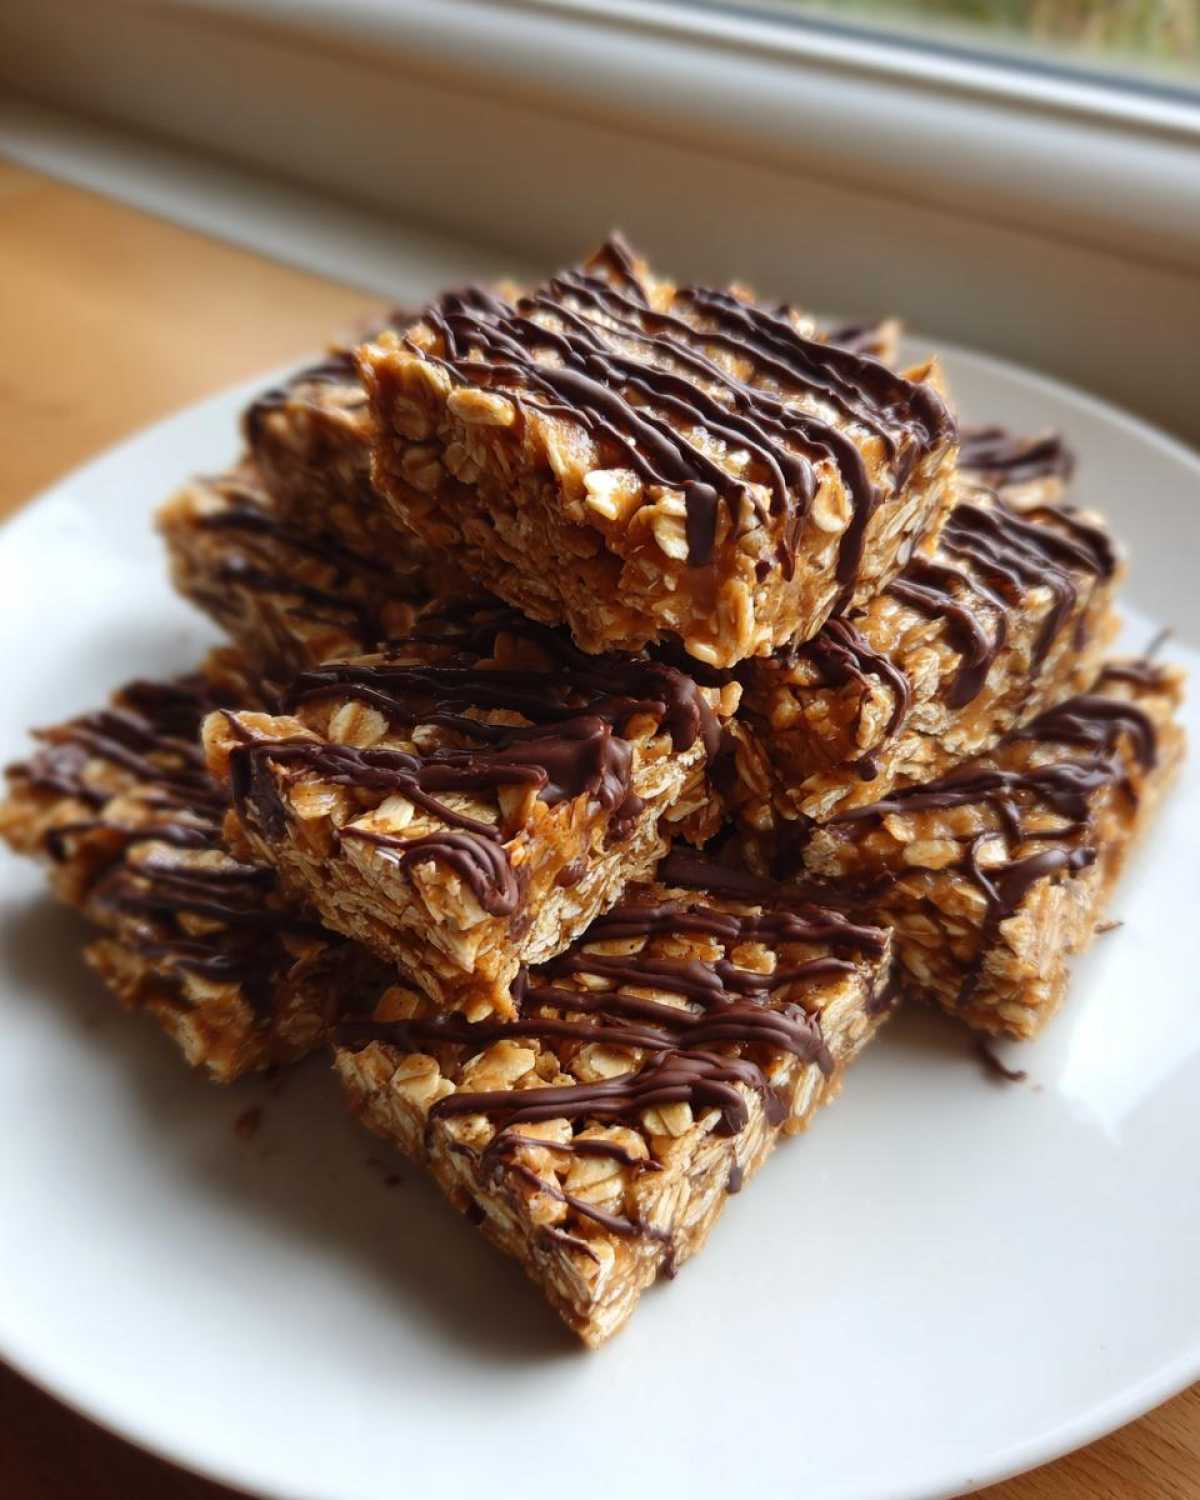
Once that dough is pressed *firmly* and evenly into your prepared dish—really pack it in there so they hold their shape—it goes into the fridge. This chilling step is non-negotiable! You need at least one full hour for them to firm up properly. When they come out, you lift that parchment sling and slice them into 10 to 12 beautiful bars. Then, melt those chocolate chips and give them a drizzle worthy of a newspaper headline. Perfection!
Tips for Success with Your Protein Bars for Beginners
Leo and I want everyone to succeed with their very first batch of these wonderful snacks. It’s easy to feel nervous when you’re making protein bars at home for the first time, especially since there’s no oven heat to ‘fix’ mistakes! But honestly, these are so forgiving. The biggest key, as with all baking, is paying attention to starting consistency. If you find the mixture is too dry and crumbly when you go to press it down—which can happen if your protein powder is very absorbent—don’t panic!
Just add a tiny bit of moisture. I mean teaspoon by teaspoon. Maybe a splash of water or a tiny bit of milk until it just starts to hold together when you squeeze a bit in your palm. That’s the magic trick that saves a batch that threatens to fall apart. I learned so much about ingredient adjustments while researching flavor profiles for my library science days; you can read a bit more about adapting recipes over at our post on the Easy Whipped Ricotta Dip Recipe!
Ingredient Swaps for Customizing Your Protein Bars
Because we want these protein bars to work for everyone, we love talking swaps! Flexibility is key in a busy home kitchen, right? If you’re making these for friends who skip dairy or for anyone avoiding honey, swapping the sweetener is a cinch. Remember, using maple syrup instead of honey makes these perfectly vegan—it performs almost identically in this no-bake structure, so you can easily keep them plant-based.
Also, don’t feel locked into peanut butter! If you or your family have allergies, or you just want a change of pace, swapping in almond butter works like a charm. Even sunflower seed butter is a great option if you need to keep things nut-free. They all provide the necessary fat and binding quality to hold oats and protein powder together beautifully.
Storage and Make Ahead Protein Snacks
One of the best things about these peanut butter beauties is that they are fantastic make ahead protein snacks. We encourage you to quadruple the batch; honestly, they are that easy! Once you cut them, stick them into an airtight container. They hold up wonderfully in the refrigerator for a full week, tasting just as fresh on day seven as they did on day one. Leo often wraps individual protein bars in wax paper and tosses them into the freezer. They thaw out perfectly in about 15 minutes, which is why they’re the perfect emergency snack stash for those days when the schedule just gets away from you! For more tips on meal prep consistency, you can check out some general lessons from our post on the Easy Whipped Ricotta Dip Recipe!
Serving Suggestions for These High Protein Recipes
Now that we’ve successfully composed and published the perfect batch of these treats, the next question is: how do you serve them? Are they a post-workout refuel? A quick desk lunch replacement? Absolutely! Leo and I have found that the way you enjoy these bars really changes the experience. They don’t just sit there waiting to be eaten; they become part of the day’s rhythm.
If you’re grabbing one first thing in the morning, try pairing it with a hot cup of coffee. The slight saltiness from the peanut butter cuts through the bitterness of the brew beautifully. It’s my go-to second breakfast when I’m busy sorting out recipe notes for the next feature!
The Breakfast Bar Upgrade
Want to elevate one of these from a snack to a proper mini-breakfast component? Try crumbling one bar over a bowl of plain Greek yogurt. It adds texture and a satisfying sweetness you usually have to pay extra for in the store. The peanut butter flavor really shines through when paired with yogurt.
Pairing with Your Favorite Beverage
Since these contain a good amount of protein and binding fats, they are fantastic for stabilizing energy levels. That’s why they work so well with that morning caffeine kick. If you love a blended morning drink, you might want to check out Leo’s recent mix—it’s the perfect partner beverage for a hearty bar like this one. You can find the recipe for the Coffee Smoothie: High Protein Banana Recipe right here on the Tribune. Honestly, the combo keeps you going until lunch!
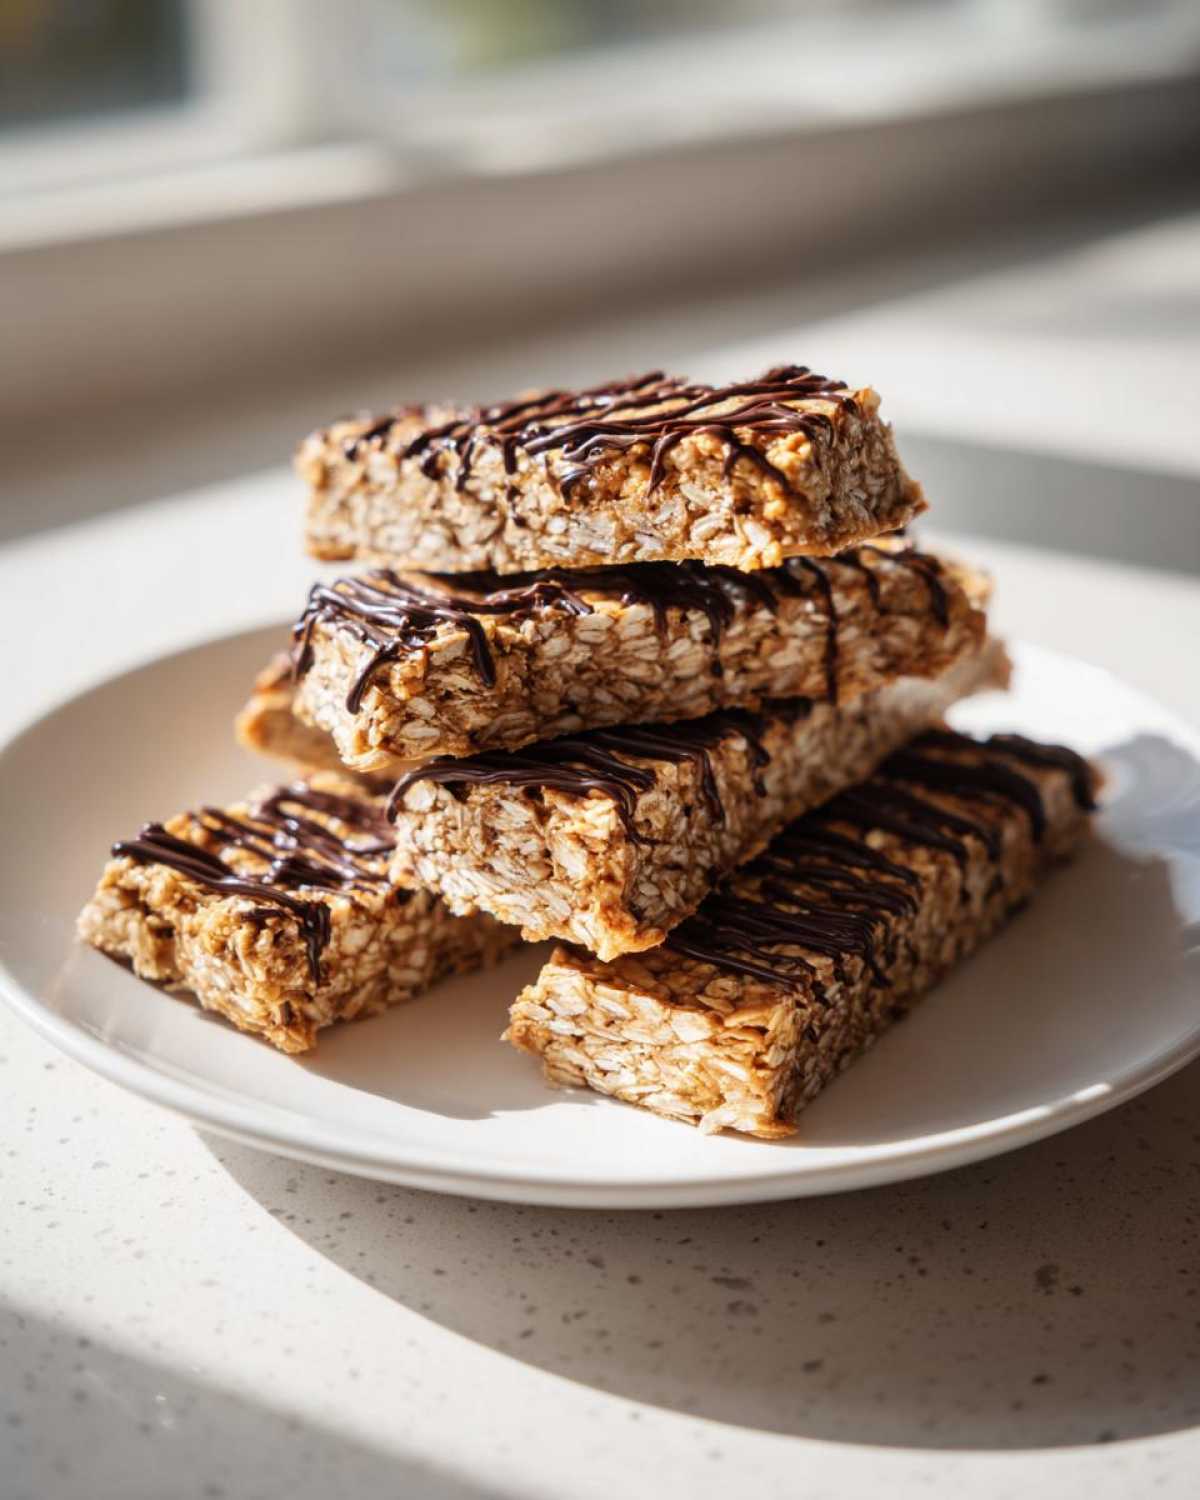
And for a truly decadent moment? Warm the drizzled chocolate slightly by letting the bar sit on the counter for five minutes, and enjoy it like a truly indulgent, yet healthy, dessert with a glass of cold milk. Simple, beautiful, and perfectly composed!
Frequently Asked Questions About Homemade Protein Bars
It’s only natural that when you make something this good for the first time, you’ll have a few questions bubbling up! Leo and I truly believe in transparency, so we wanted to tackle the most common reader worries right here. We don’t want a single missed step or texture worry preventing you from enjoying these incredible protein bars.
Can I make these low sugar protein bars?
That’s a great question, especially for those watching their intake! Since this recipe relies on the honey or maple syrup for binding as much as sweetness, cutting down the sweetener significantly can throw off the texture. We want those chewy protein bars, not a crumbling block! If you want to try to make low sugar protein bars, I suggest reducing the honey/syrup by just a tablespoon or two first. You might need to compensate slightly with an extra teaspoon of peanut butter or a tiny splash of water to keep the dough cohesive. If you go the sugar-free route with liquid sweeteners, keep an eye on that binding!
What is the best protein powder to use for these protein bars?
Oh, the protein powder conundrum! This is where variation really comes into play. If you use a standard whey protein powder, which tends to be quite absorbent, the dough might come out a bit stiffer. That means you might need that extra teaspoon of water we talked about.
If you are aiming for a vegan protein bars recipe, plant-based powders like pea or brown rice work great, but they can sometimes be thicker or fluffier when mixed. Whichever one you choose, make sure it’s a vanilla flavor, or it will clash with the peanut butter! What matters most is that you use the same amount—half a cup—and adjust the moisture of the overall mixture accordingly until it feels like thick cookie dough.
How long do these truly last in the fridge?
We covered this a bit, but it bears repeating! Because these are full of healthy fats from the peanut butter and they lack the preservatives you find in store-bought candy bars, refrigeration is key. We’ve tested this many times (it’s a tough job, but someone has to do it for the readers!) and they stay absolutely perfect for seven whole days in an airtight container. After that, they are still safe, but the texture might start to firm up a little too much.
For any recipe notes or general baking policies, you can always peek at our official disclaimer page to see how we manage testing and reporting our results!
Nutritional Snapshot of Our Easy Protein Bars
Now, let’s talk numbers! It’s important to know what you’re fueling up with when you’re making your own snacks. Leo always reminds me that when we make recipes like this, we have so much more control over the macros than those tempting things at the checkout counter. These figures are based on using the recipe exactly as written, including honey, and dividing the batch into 10 even pieces.
Keep in mind—and this is key for any home cook—that ingredients vary! If you use a brand of protein powder that’s extra dense or a peanut butter that’s runnier, your final count will shift a little. Think of this as a fantastic baseline estimate, especially the protein count, which is the star of the show here!
Here is the breakdown:
- Serving Size: 1 bar
- Calories: 220
- Protein: 15g
- Sugar: 8g
- Fat: 12g
- Carbohydrates: 20g
- Fiber: 2g
We’ve managed to pack 15 grams of protein into a snack that tastes like dessert but keeps the sugar way down compared to most store-bought versions. That’s a win-win in our book! For more information on how we handle data collection and user tracking here at the Tribune, please feel free to review our Privacy Policy. Happy snacking, everyone!
Share Your Tasty Tribune Protein Bars Creations
And there you have it! Our little secret weapon for fast, fuel-packed snacking—the Easy No-Bake 5-Ingredient Peanut Butter Protein Bars. Leo is already busy cleaning up the measuring spoons, and I’m over here mentally planning which movie marathon I’ll need these bars for this weekend. We truly hope you had as much fun making them as we did testing them!
When you nail a recipe this good, you just have to share the news! We absolutely love hearing how these simple, homemade protein bars fit into your busy lives. Did you add a sprinkle of sea salt to the top instead of chocolate? Did they become your go-to meal prep bar? Drop a comment right below this article and let us know how it went. We read every single one, I promise!
If you’re snapping a picture for social media—and you totally should, because they look fantastic once you drizzle that chocolate—be sure to tag us! We adore seeing your beautiful work pop up on our feed. Just use the usual tags, and we’ll cheer you on from our kitchen! We’re always looking for more delicious stories to publish here in the Tribune, and your kitchen success is always the headline we love to see the most.
If you need to get in touch with us directly about this recipe or anything else, don’t hesitate to reach out via our contact form. We’re here to help!
Happy baking—or in this case, happy chilling!
With love and laughter from the newsroom,
Clara & Leo
PrintEasy No-Bake 5-Ingredient Peanut Butter Protein Bars
Make these simple, chewy homemade protein bars with only five ingredients. They require no baking and are perfect for quick meal prep or a satisfying, high-protein snack.
- Prep Time: 10 min
- Cook Time: 0 min
- Total Time: 70 min
- Yield: 10 servings
- Category: Snack
- Method: No-Bake
- Cuisine: American
- Diet: Vegetarian
Ingredients
- 1 cup rolled oats
- 1 cup creamy peanut butter
- 1/2 cup vanilla protein powder
- 1/4 cup honey or maple syrup
- 1/4 cup dark chocolate chips (for drizzling)
Instructions
- Line an 8×8 inch baking dish with parchment paper, leaving an overhang for easy removal.
- In a large bowl, combine the rolled oats, peanut butter, protein powder, and honey or maple syrup.
- Mix all ingredients thoroughly until a thick, uniform dough forms. You may need to use your hands to fully incorporate everything.
- Press the mixture evenly into the prepared baking dish. Press down firmly to make sure the bars hold their shape.
- Place the dish in the refrigerator to chill for at least 1 hour, or until firm.
- Once chilled, lift the bars out using the parchment paper overhang. Cut the block into 10 to 12 equal bars.
- Melt the chocolate chips in a microwave-safe bowl in 30-second intervals, stirring until smooth.
- Drizzle the melted chocolate over the tops of the bars.
- Return the bars to the refrigerator for 10 minutes to allow the chocolate to set before serving.
Notes
- For a vegan option, substitute maple syrup for honey.
- If the mixture seems too dry, add one teaspoon of water or milk at a time until it comes together.
- Store your finished protein bars in an airtight container in the refrigerator for up to one week, or freeze them for longer storage.
- You can substitute peanut butter with almond butter or sunflower seed butter for variety.
Nutrition
- Serving Size: 1 bar
- Calories: 220
- Sugar: 8
- Sodium: 110
- Fat: 12
- Saturated Fat: 3
- Unsaturated Fat: 9
- Trans Fat: 0
- Carbohydrates: 20
- Fiber: 2
- Protein: 15
- Cholesterol: 0